Taking a soil sample for testing on your homestead can be an important part of managing your land and garden. On our homestead we strive to follow regenerative practices that work towards building up soil fertility.
Why You Should Take a Soil Sample
Soil samples will give you a bigger picture of the health of your soil, whether you are working to improve your garden or the forage of your pasture, this information will help you make informed decisions about how to manage your property.
Taking a soil sample will give you a baseline of where your land or garden is at. If you take a sample every year, you will be able to see any improvements or setbacks in your soil fertility. This will help you make better decisions about your property management.
Also, if you have any problem areas on your property, taking a soil sample can give insight into what is causing issues in that area. Furthermore, the results of your soil testing will provide you with suggestions for amendments that can be added to the soil to improve the fertility.
Overall, collecting soil samples is about the larger picture of improving the soil on your property to ultimately improve the healthy of your produce and livestock.
Considerations for Taking a Soil Sample
There are different options for where to do the soil testing. We chose to go through our local county extension office.
This worked well for us for several reasons. First of all, we were able to work one on one with the person in charge of soil testing. He was able to answer all of our questions and gave us a lot of helpful tips.
Second, because he is local, the extension agent has a strong working knowledge of the topography and soil in our area. That knowledge proved to be useful as we figured out the best way to do our soil sample.
One common question is how much a soil sample will cost. This will vary by location and provider, but for us the cost of submitting two samples was $11. While the cost may be a bit more in your area, taking a soil sample for testing is quite affordable!
Another thing to consider is what time of year to take a soil sample. Generally the fall is the best time of year, but really any time of the year will work. The most important thing is that you test at the same time every year.
Our initial plan was to test our soil in the fall, but time got away from us with other projects we were working on. We ended up delaying our soil test until the spring. This really was not a big deal. We will just remember to test our soil anually in the spring from here on out.
How to Take a Soil Sample for Testing
The first thing to do is to determine how many soil samples you will need to take. If your property is large, or if you have distinct areas, then you may want to consider taking more than one sample.
If you are taking samples for a garden, you may want to take different samples for each bed, or just take one big collective sample to give you an overall snapshot of your garden.
Also, if you have any trouble areas that you want to investigate further, then you should take a separate sample of that area.
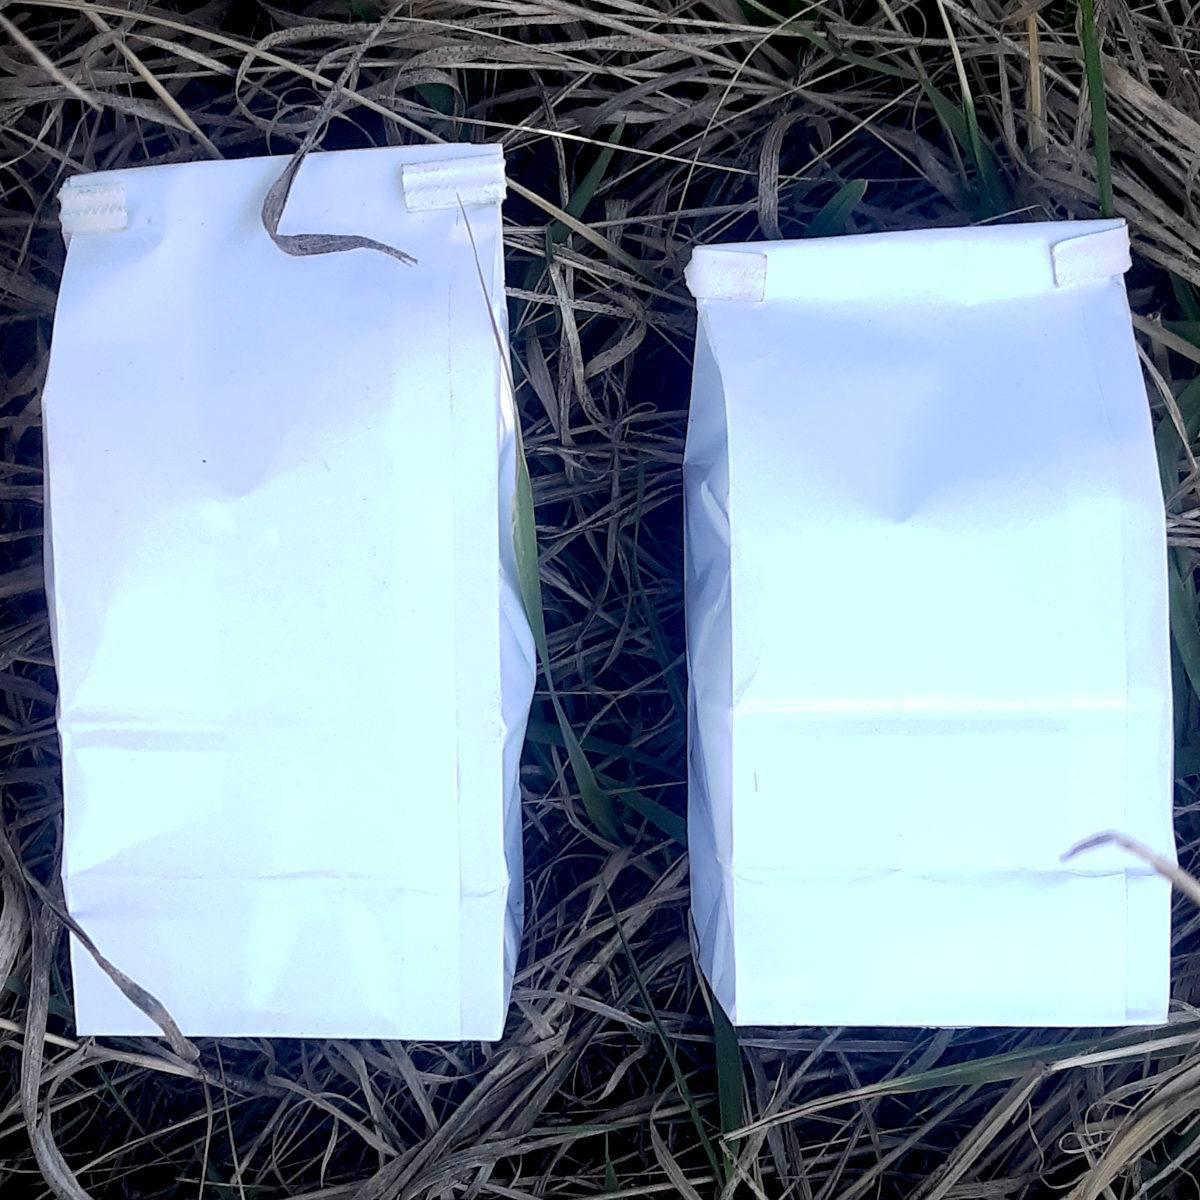
We chose to take two soil samples for testing. We have a distinct front and back section on our property. For us it seemed natural to divide those two sections into two different sample areas.
The equipment that you will need to complete a soil sample for testing includes: a bucket, a soil probe or shovel, and bags for submitting the soil samples.
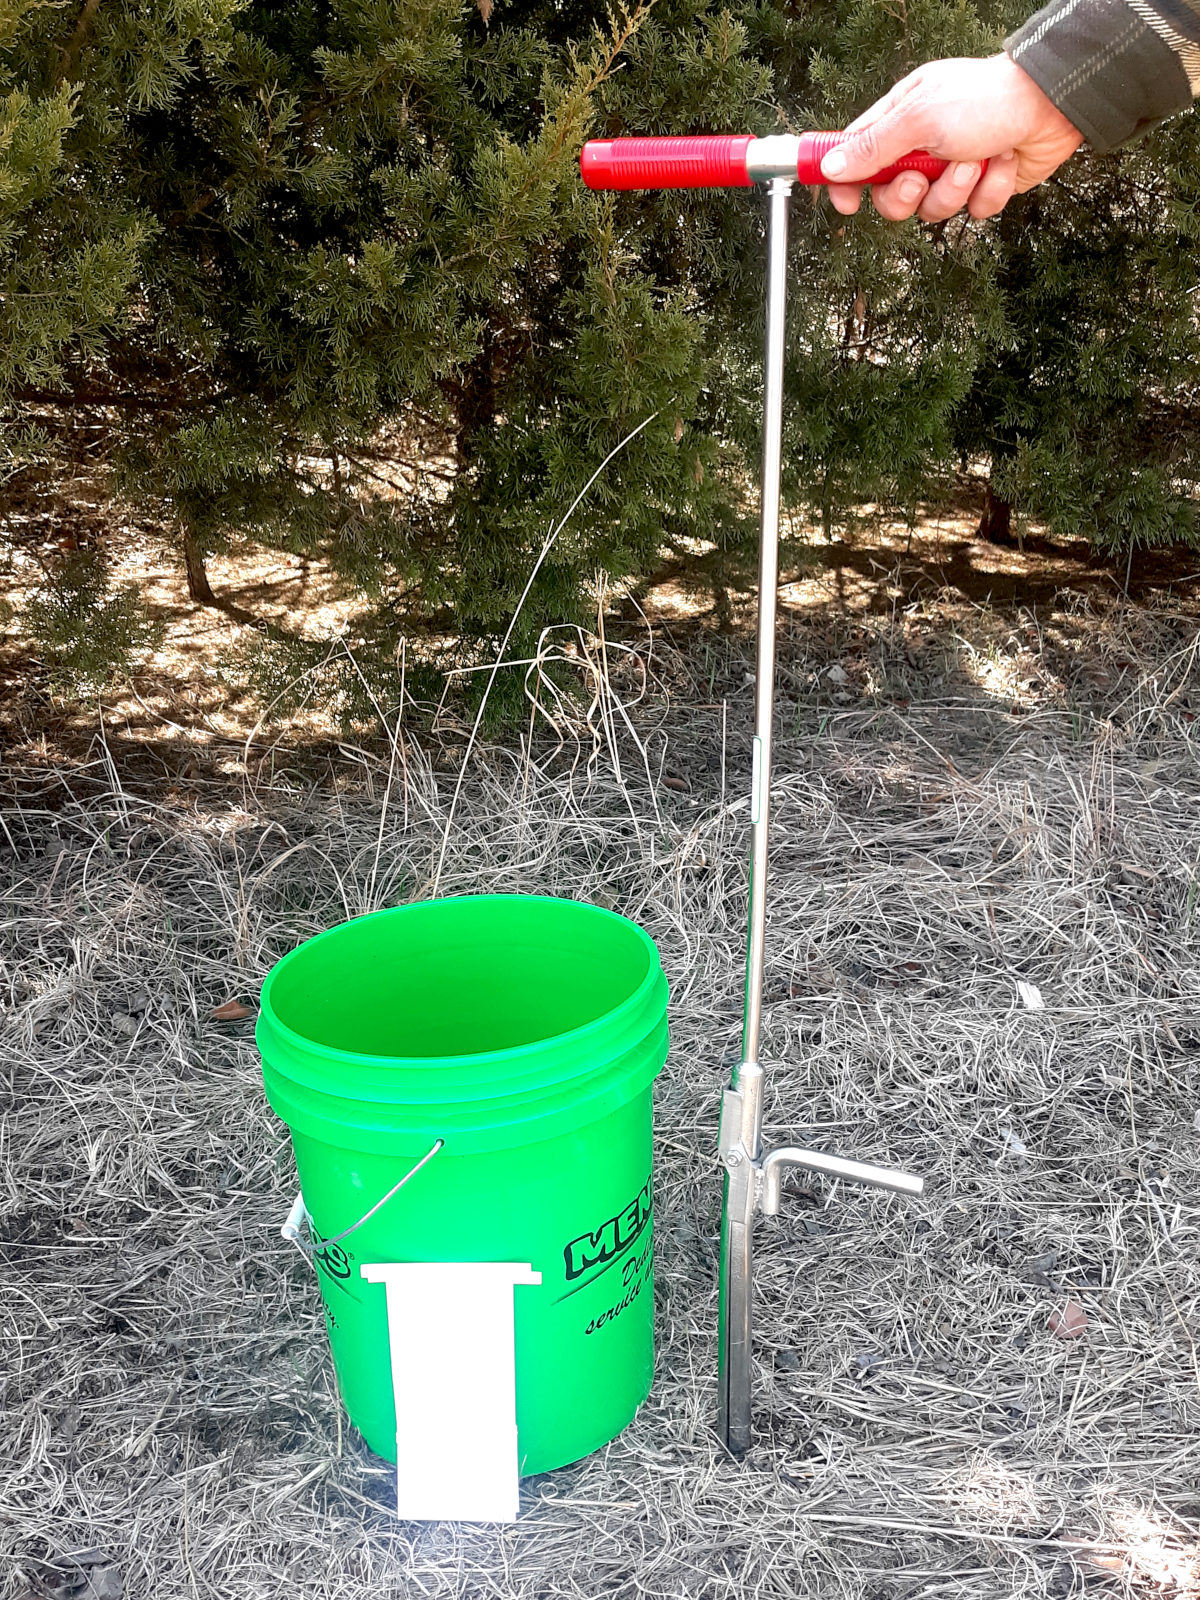
We borrowed a soil probe from our extension office. They also provided the sample bags to us for free.
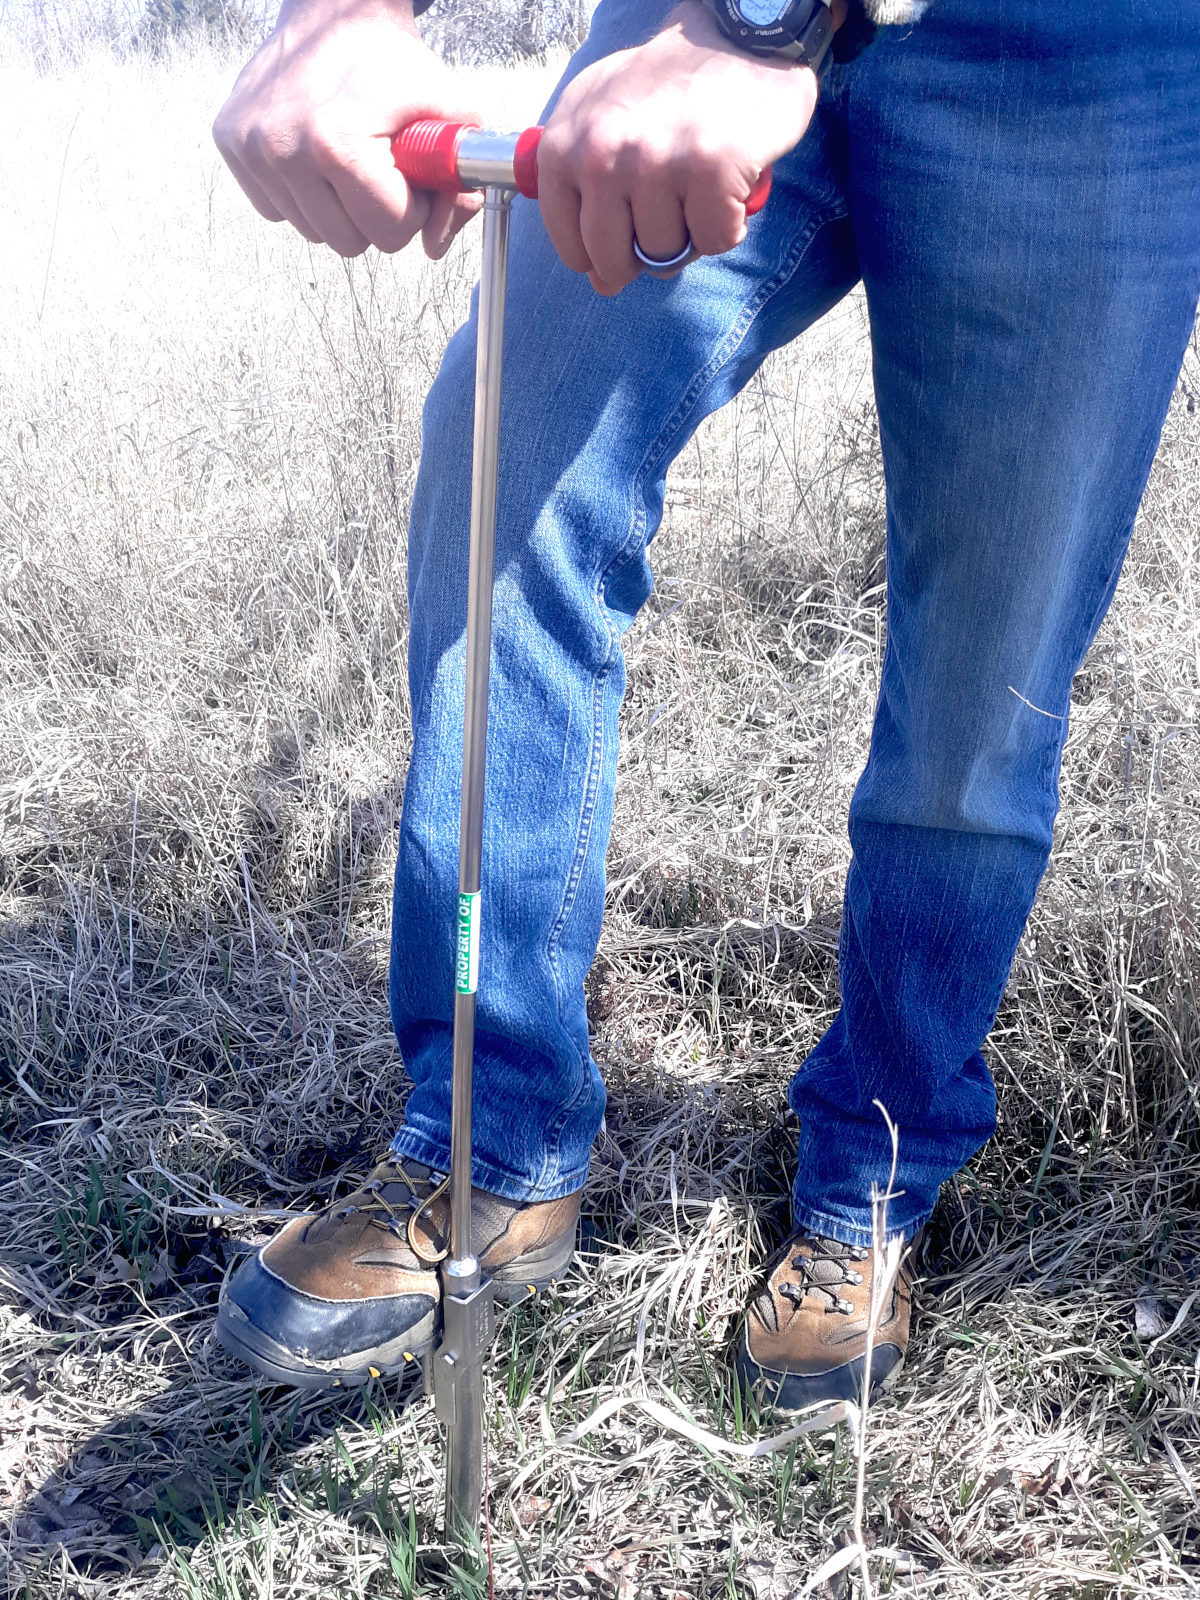
The soil probe (or the shovel) will be your main tool to take the core samples. The soil probe makes taking a sample really easy. You simply slide the probe down into the soil, bring it back up, and place the core in the bucket.
Using a shovel takes a bit more care to make sure you get consistent results. To take a sample with a shovel, put it in the ground and pull it back out with the portion of dirt. You will then slice off a section of what you pulled out and put that small section into the bucket.
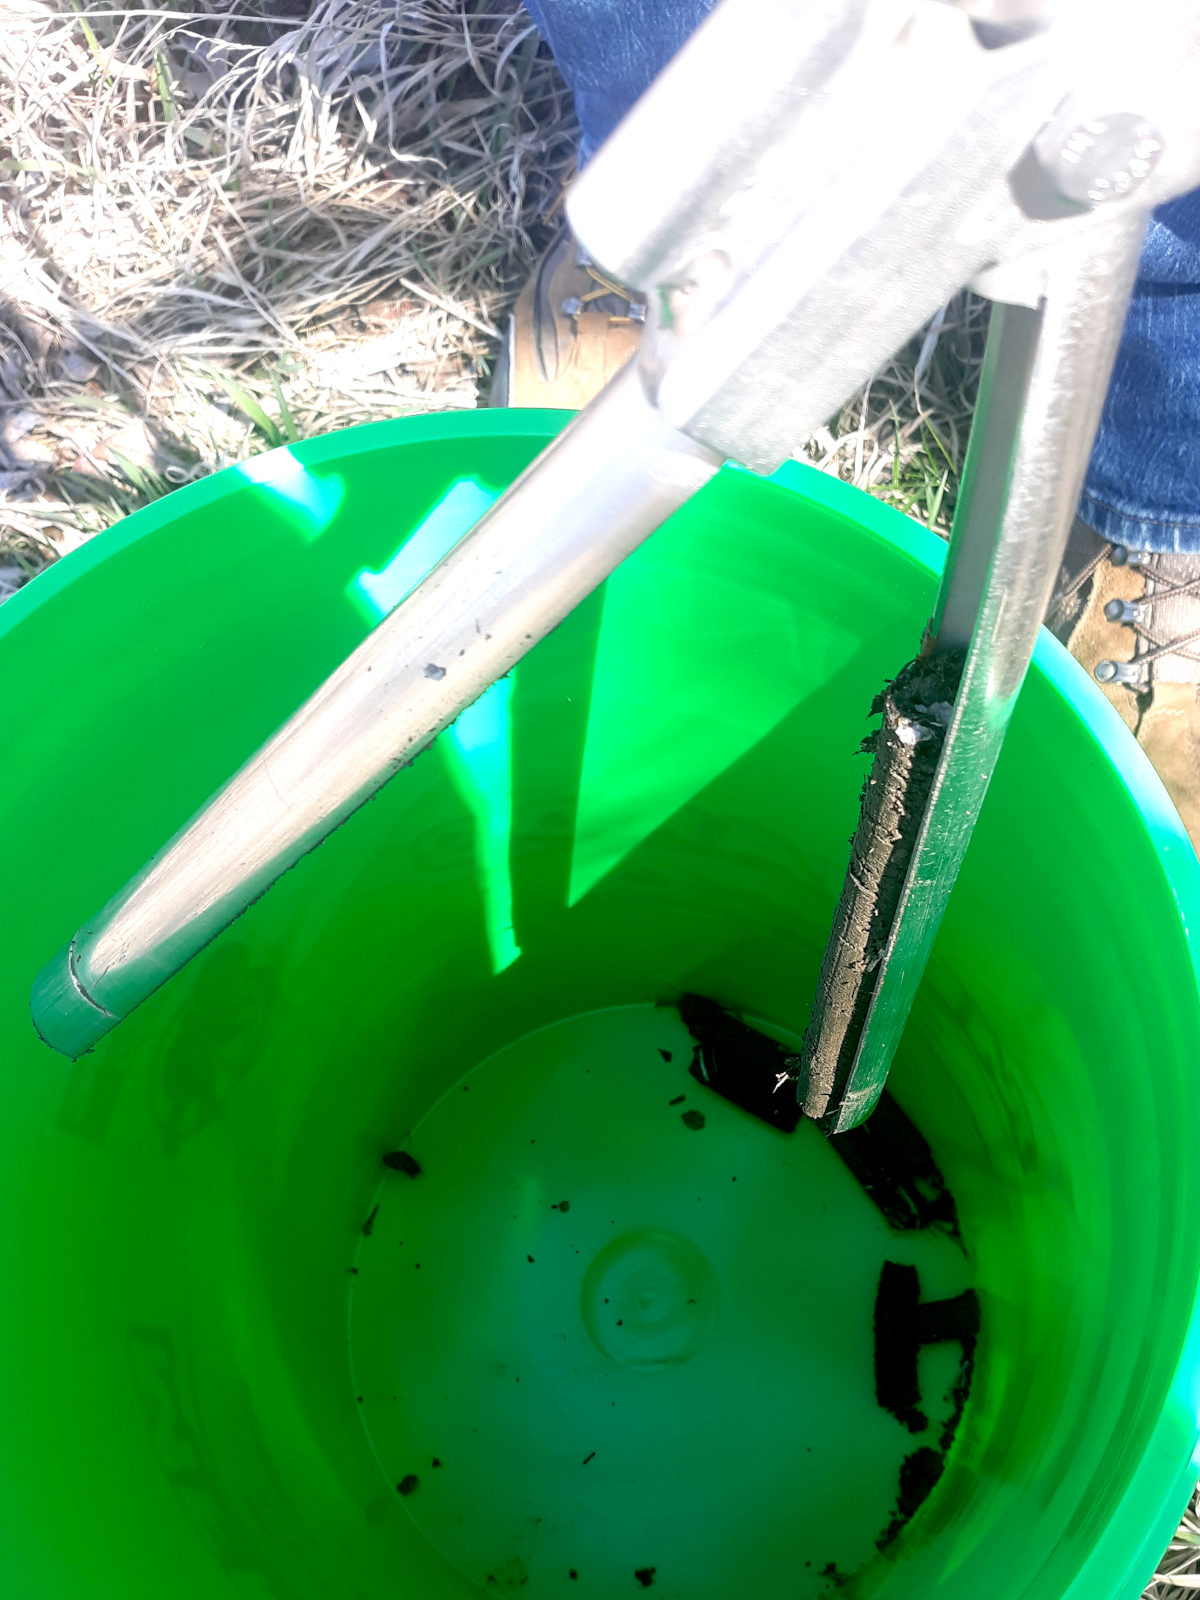
The most important thing of all is to be consistent in the depth of your soil sample. You will need to go about 5-6 inches deep every time you take a core sample.
To take the samples you should walk in a zig zag pattern through the area that you are sampling. The idea is to cover the whole field and to collect core samples from a variety of locations in the field. Avoid taking all of your samples from the same area as this will give you inaccurate results.
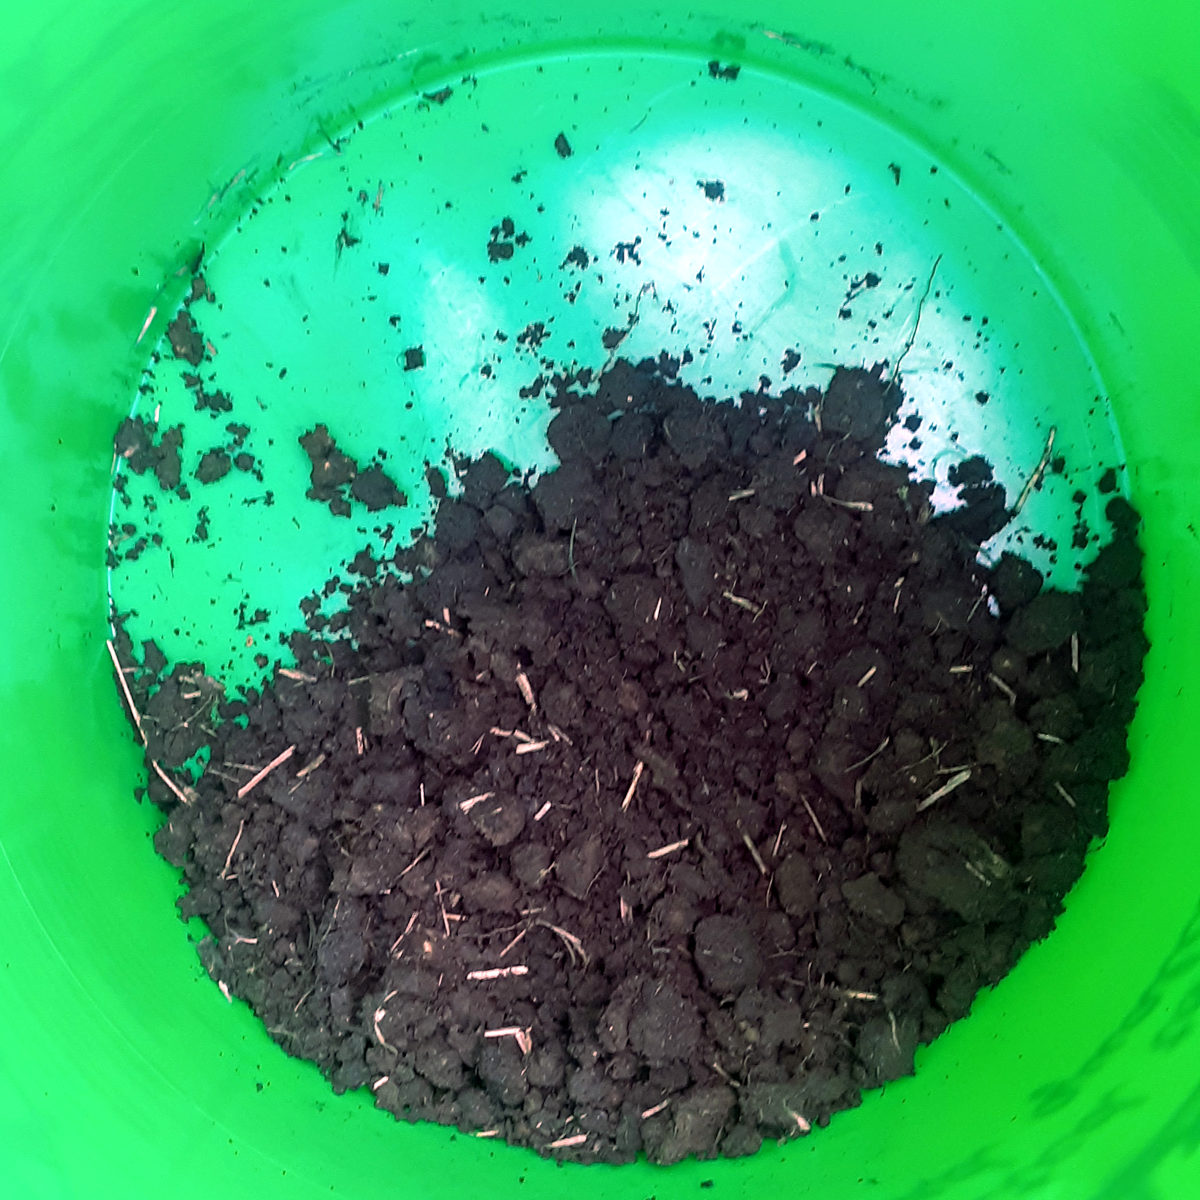
For each sample that you are taking you will need to have 12-15 core samples. You will want to determine which area you will do first. Take your 12-15 samples and put them in the bucket as you pull the core samples from the ground.
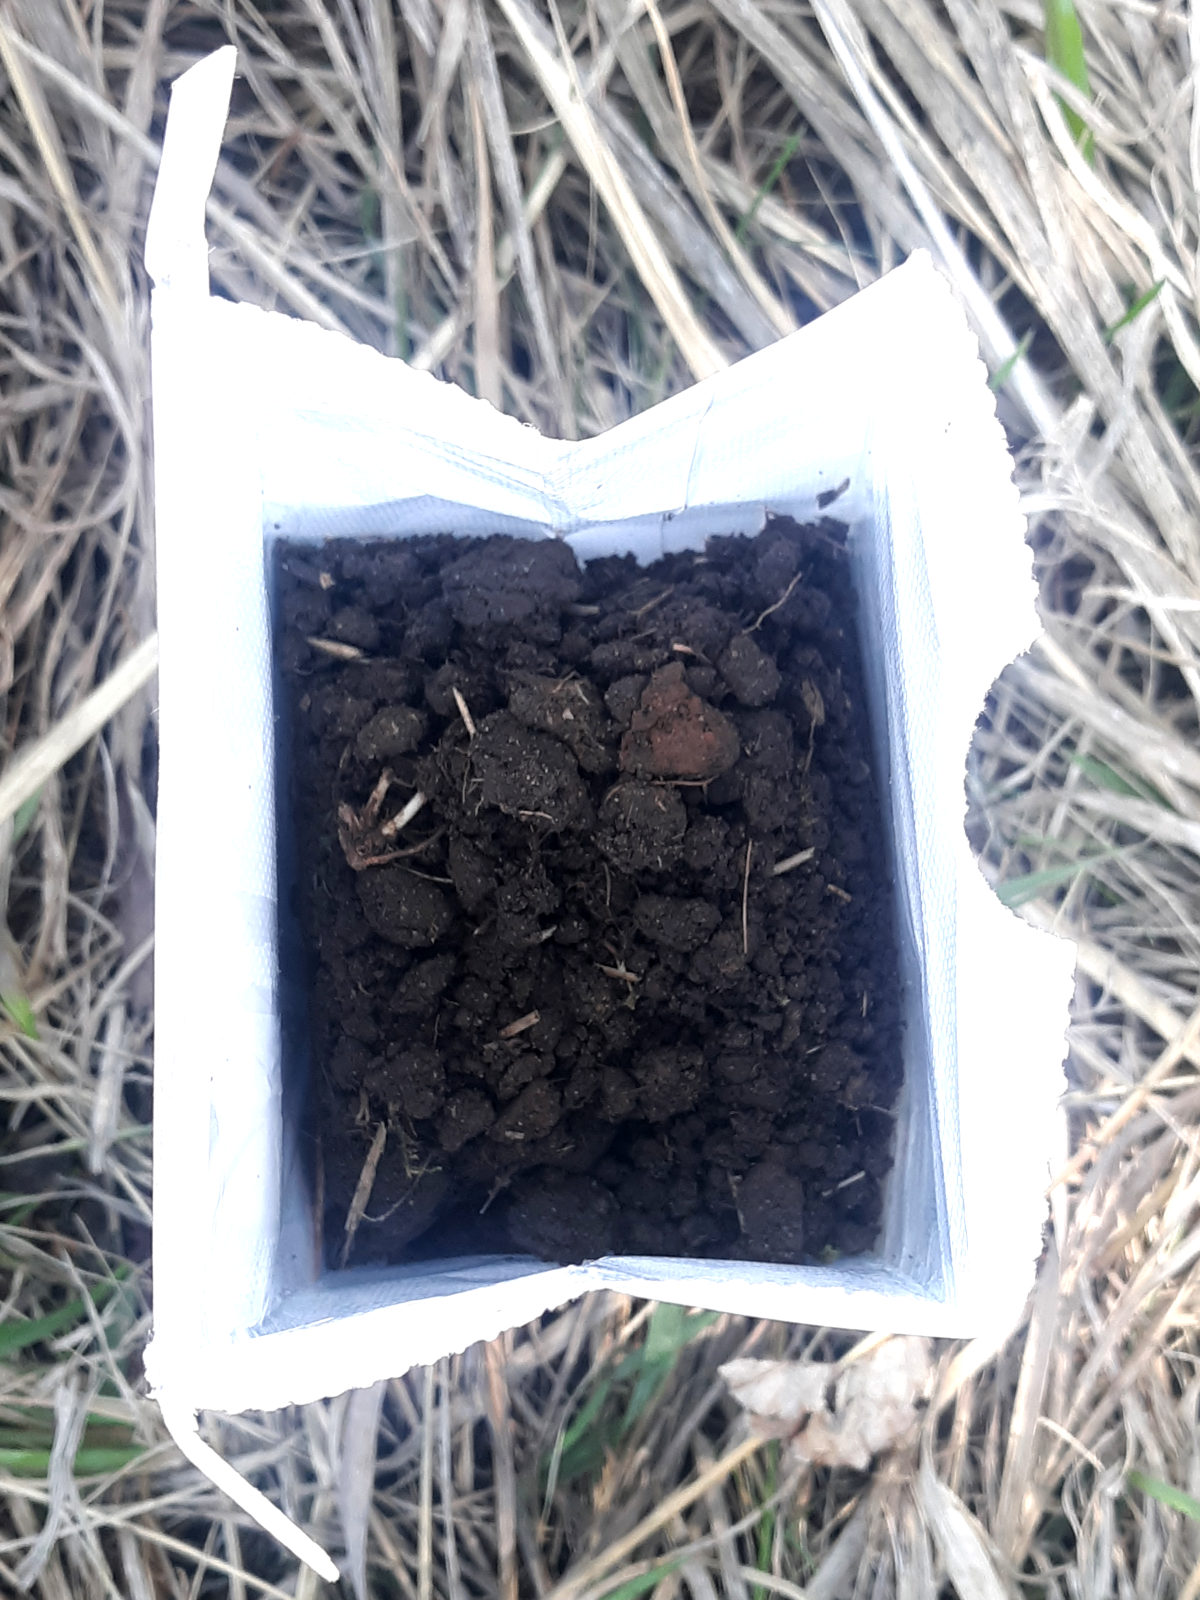
Once you have taken all of the samples for the first determined area, mix all of the small cores together well. When it is all mixed together you will fill the sample bag with the mixed soil. Make sure you label the bag so you know what section of soil is inside of it.
If you are taking another sample of different area you will repeat the whole process of taking 12-15 core samples, mixing them together in the bucket, and filling the sample bag with the soil.
Once you have completed the soil samples you will need to turn them in for testing. I took our samples to our local extension office.
When I turned in the samples the extension office filled in an information form. They asked me a few questions, so you may need to be prepared. They asked me the depth that we took the samples from. They also asked what type of grass we have on our land.
After the form was filled out I paid the fee for the samples. They told me to expect an email with the results in about a week and a hard copy would follow in the mail a few days later.
Next Steps
So now that you have taken your soil samples, what is next? Learning and Yearning has a very helpful post on what to do with the information you get from your soil sample. Take a look at it here! You’ve Tested Your Soil; Now What? Amending Garden Soil Naturally.
If you are new to gardening Southern Dreams has a guide on Easy to Grow Vegetables for Beginners. Steel Raven Farm shares a helpful guide on What to Plant in Your Vegetable Garden.
Starting peppers from seed can be tricky. Homesteading RD has a helpful guide for how to start them. And if you are looking at doing a fall garden, here is a list of plants to c0nsider for your fall garden!
Taking a soil sample for testing is an easy way to learn more about your land and how you can improve it. It is a straightforward process, and with the assistance of a local county extension office, it can be easily achieved!

I have many, many fond memories or helping my mom test soil at the court house. I will have to tell you about it sometime!
I can’t wait to here more about it!