Icebox cakes are a delightful vintage treat! This delicious and simple recipe is perfect for a busy summer day. Make this cake ahead of time and let it chill in the fridge. There is no baking involved, so you will not overheat your kitchen!
History of Icebox Cakes
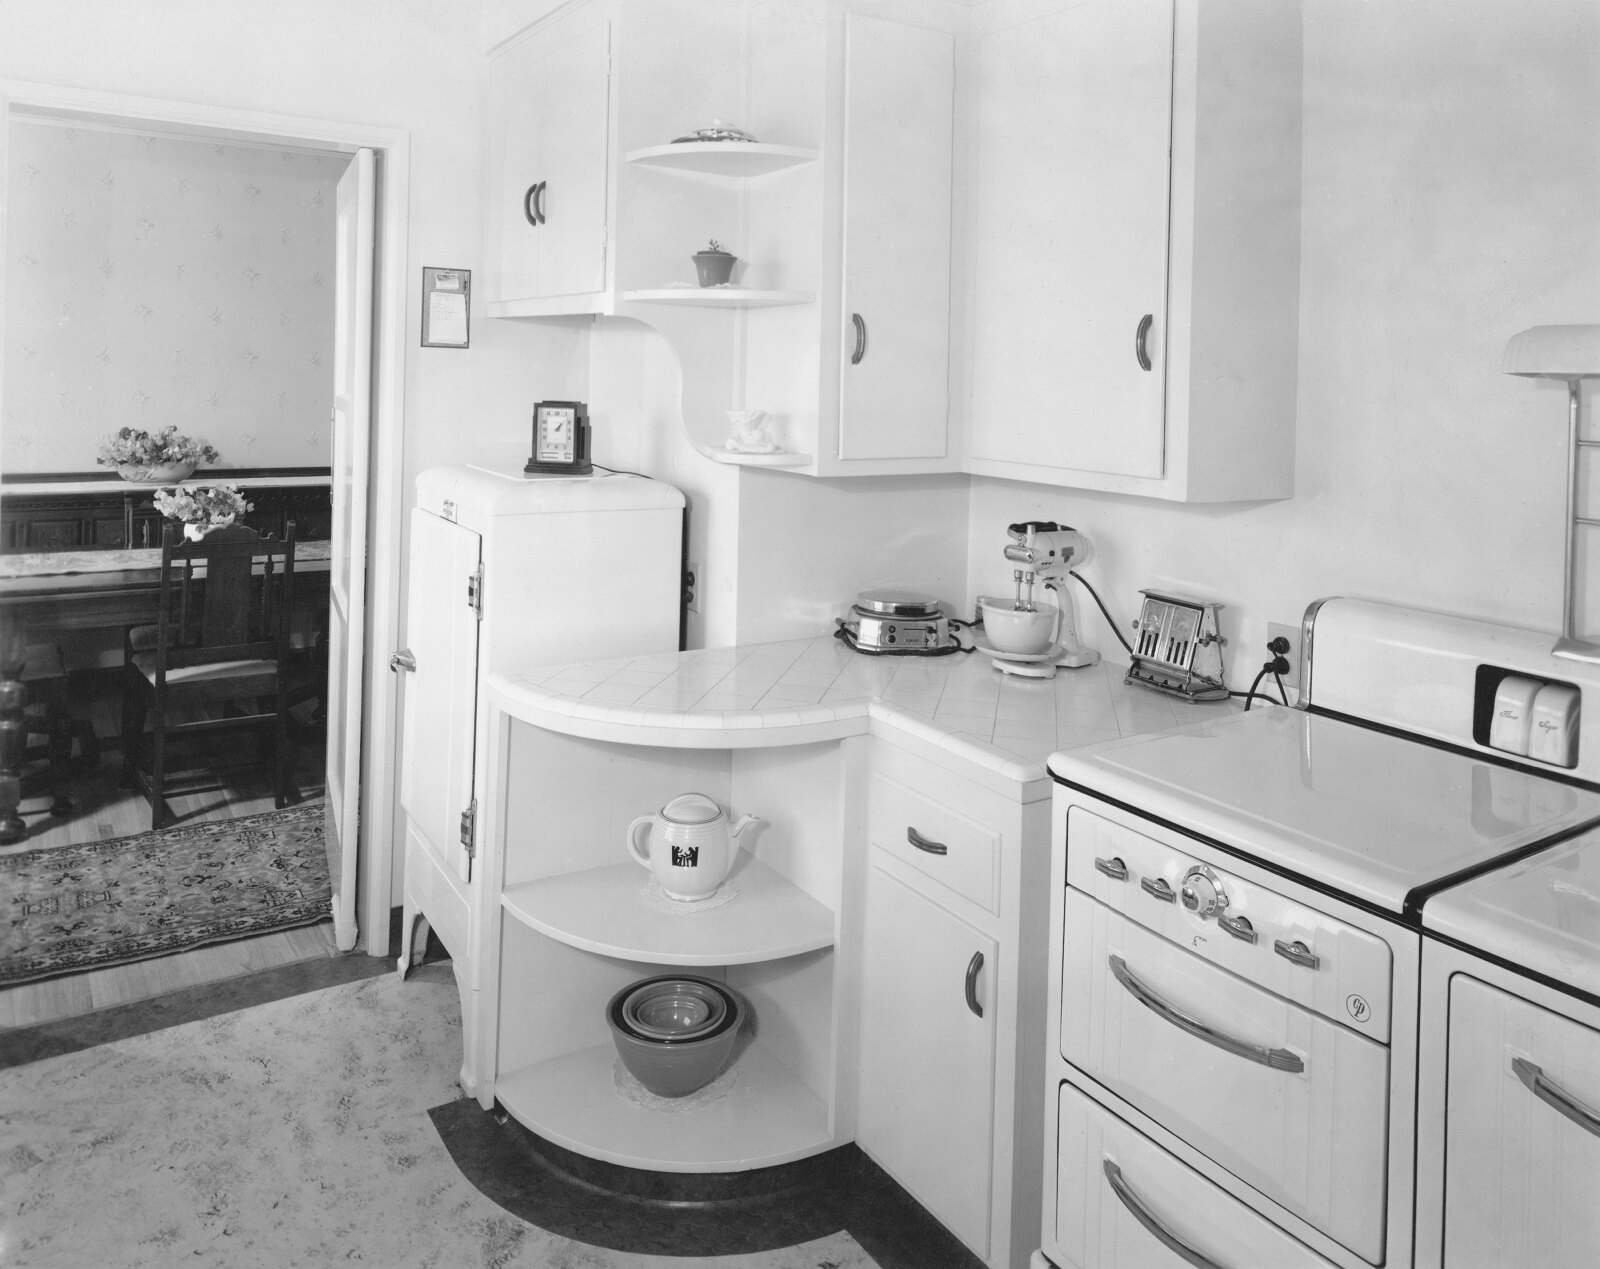
Electric refrigerators first started becoming available to the general public in the late 1920s, though it would take another decade or two before electric refrigerators would be found in almost all homes in the United States. Prior to the introduction of electric refrigerators in homes, iceboxes were used to preserve food.
Iceboxes essentially are insulated cabinets that have a compartment at the top where ice is kept. The cool air from the ice flows down toward the food that is kept inside the icebox.
It is a rather ingenious simple design that likely made food preservation much easier for the homemaker. Though much care would have to be taken to ensure the ice was continually provided. And then there is the melted water from the ice to reckon with.
In the era of iceboxes and early electric refrigerators, icebox cakes became common. An icebox cake is assembled and then placed in the “icebox” for several hours or overnight to chill. A homemaker could have a refreshing dessert made with minimal ingredients and no baking was required.
Traditional Icebox Cake Ingredients
An icebox cake is incredibly simple to make. In its most basic form, it is made from prepackaged cookies and whipped cream. There are variaions that include pudding, fruit, and other various ingredients.
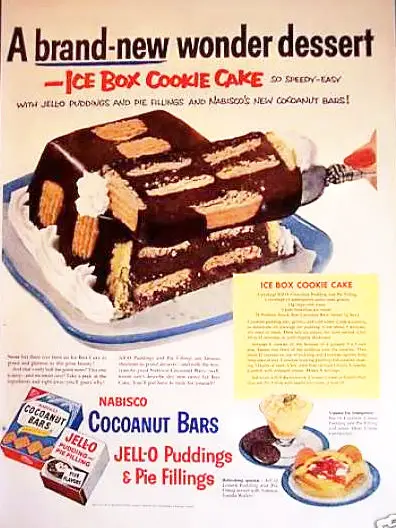
Image by Vintage Ad Browser
Traditionally the cookies that were used were this type of wafer cookies or Nabisco’s Famous Chocolate Wafers. Lady fingers were also used. And some recipes called for pudding instead of whipped cream. It was common to find recipes for icebox cakes on the cookie packages. To this day the Famous Chocolate Wafers package depicts an icebox cake and includes a recipe.
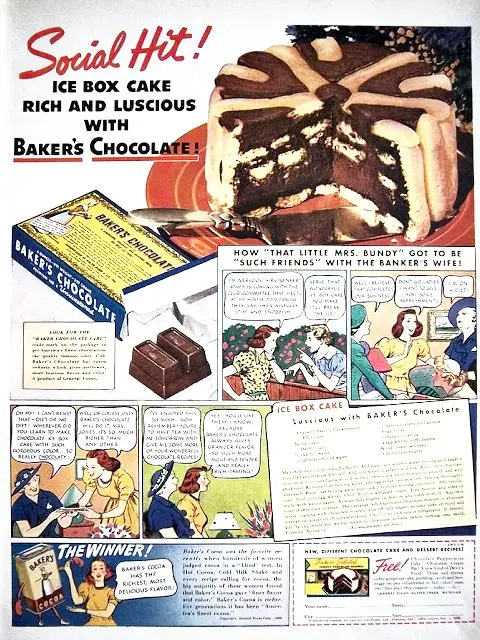
As depicted in the picture on the Famous Chocolate Wafers package, the cake was often made loaf style and then turned on its side so that the cookies were vertical. It makes for an impressive look, and the cake is even sometimes referred to as “zebra cake” due to its striped design.
Image by Dying for Chocolate
Modern Variations
More modern versions sometimes change the type of cookie that is used. Oreos are a common substitution. And graham crackers are often used in place of the cookies as well.
The filling still tends to be made from whipped cream or pudding, though there tends to be a greater variation in the flavors of these two ingredients.
While the vintage version is usually a log cake turned on its side, modern versions usually simplify the process and simply layer the ingredients in a baking dish.
Strawberry Chocolate Icebox Cake
My version of a vintage icebox cake is a simple and easy recipe.
Ingredients
-2 cups heavy cream
-2 tbsp maple syrup
-2 tsp vanilla
-3 cups strawberries, sliced
-2 packages of chocolate cookies or chocolate graham crackers (I used a package and a half of this kind)
Method
The first step is to make the whipped cream. If you are in a pinch, you can use store bought whipped cream. But quite frankly, nothing can compare to homemade whipped cream. It is exceptionally delicious, and very easy to make.
Combine the heavy cream, maple syrup, and vanilla into a mixing bowl. Using an electric mixer, beat the mixture on high until the mixture forms soft peaks. Usually about 3-5 minutes, depending on your mixer. Be careful to not over mix, or else it will turn it into butter!
If you do not have a mixer, do not lose heart! My poor mixer has been in storage for a couple of years while we are building our house. I shared a method for how to make whipped cream without a mixer in this post.
That is the method I currently use to make whipped cream since I do not have access to my mixer. It is a bit of an arm workout, but it’s good for you!
Once the whipped cream is made it is time to assemble the cake. I used a deep dish that is about 9×7 inches. The size of the dish is not super important, just use what you have on hand.
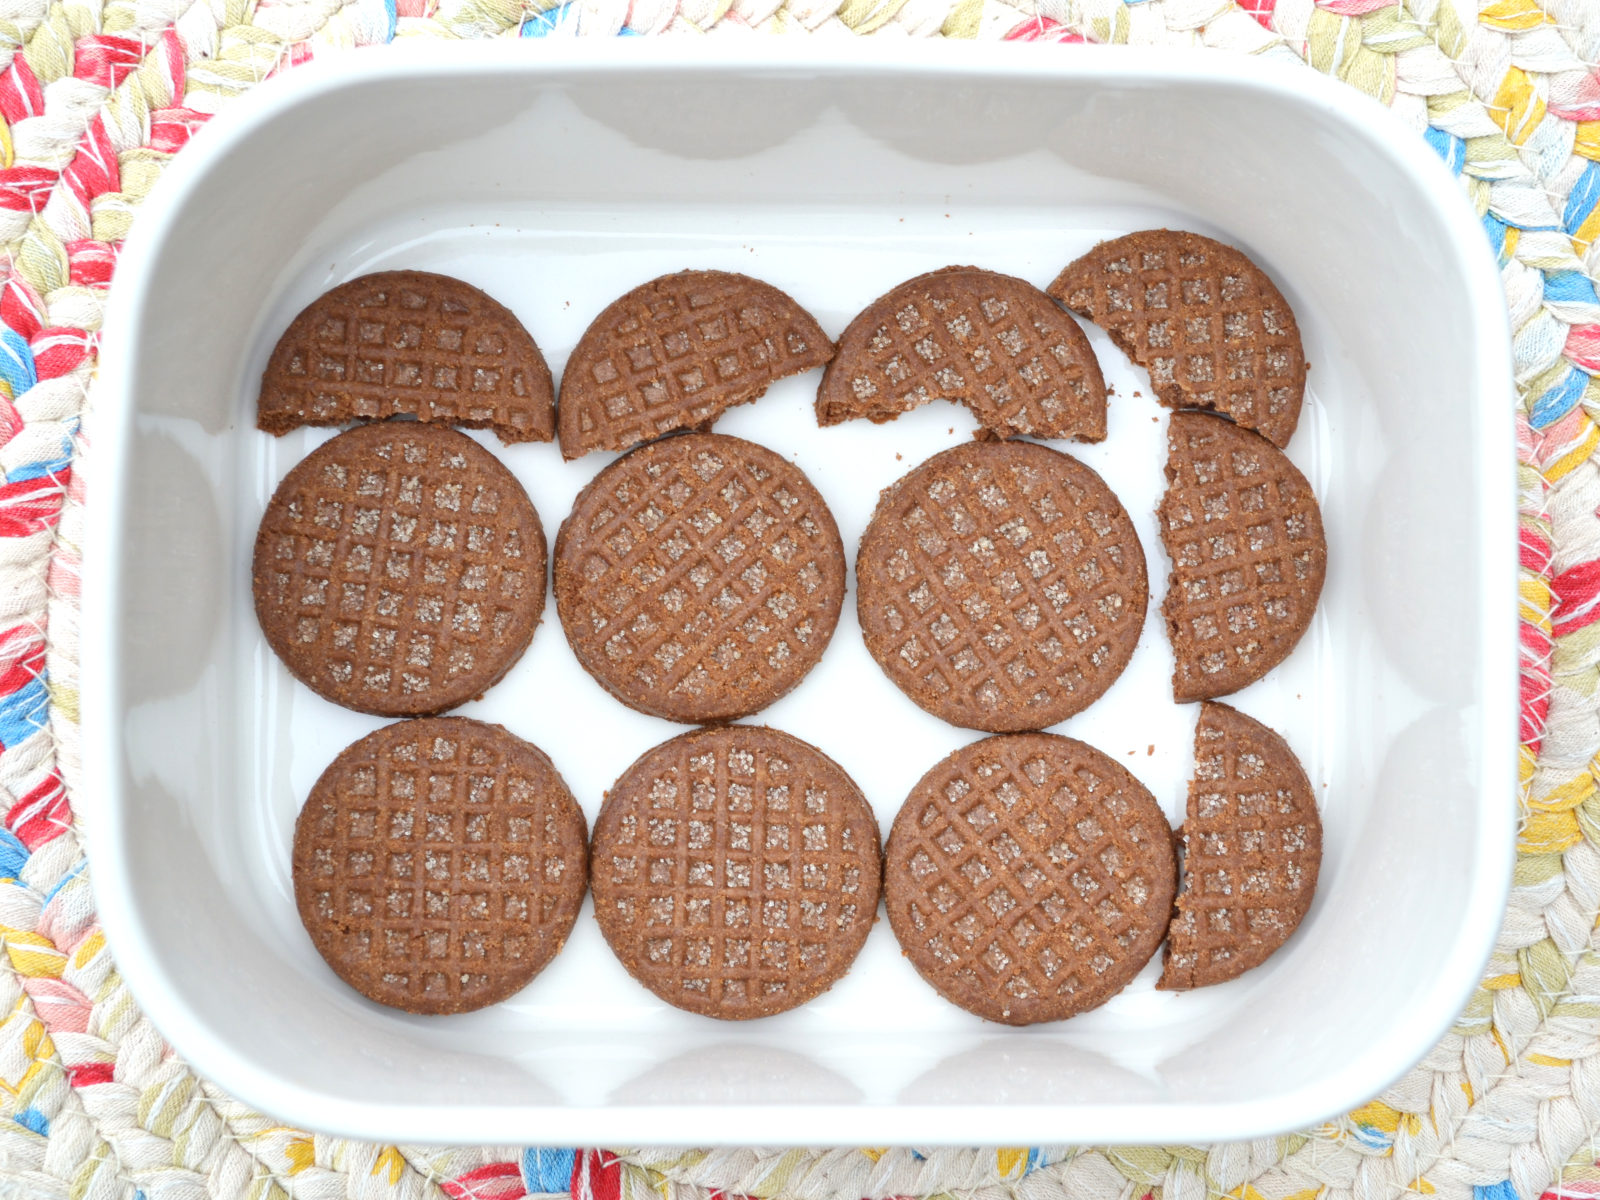
The first step is to layer the chocolate cookies on the bottom of the dish. You can use wafer cookies, chocolate graham crackers, or any type of chocolate cookie of your choice. I used Jovial’s chocolate einkorn cookies. These cookies have less sugar than most packaged cookies, and they have clean ingredients. I order them through Azure Standard. Chocolate graham crackers would also work great in this recipe.
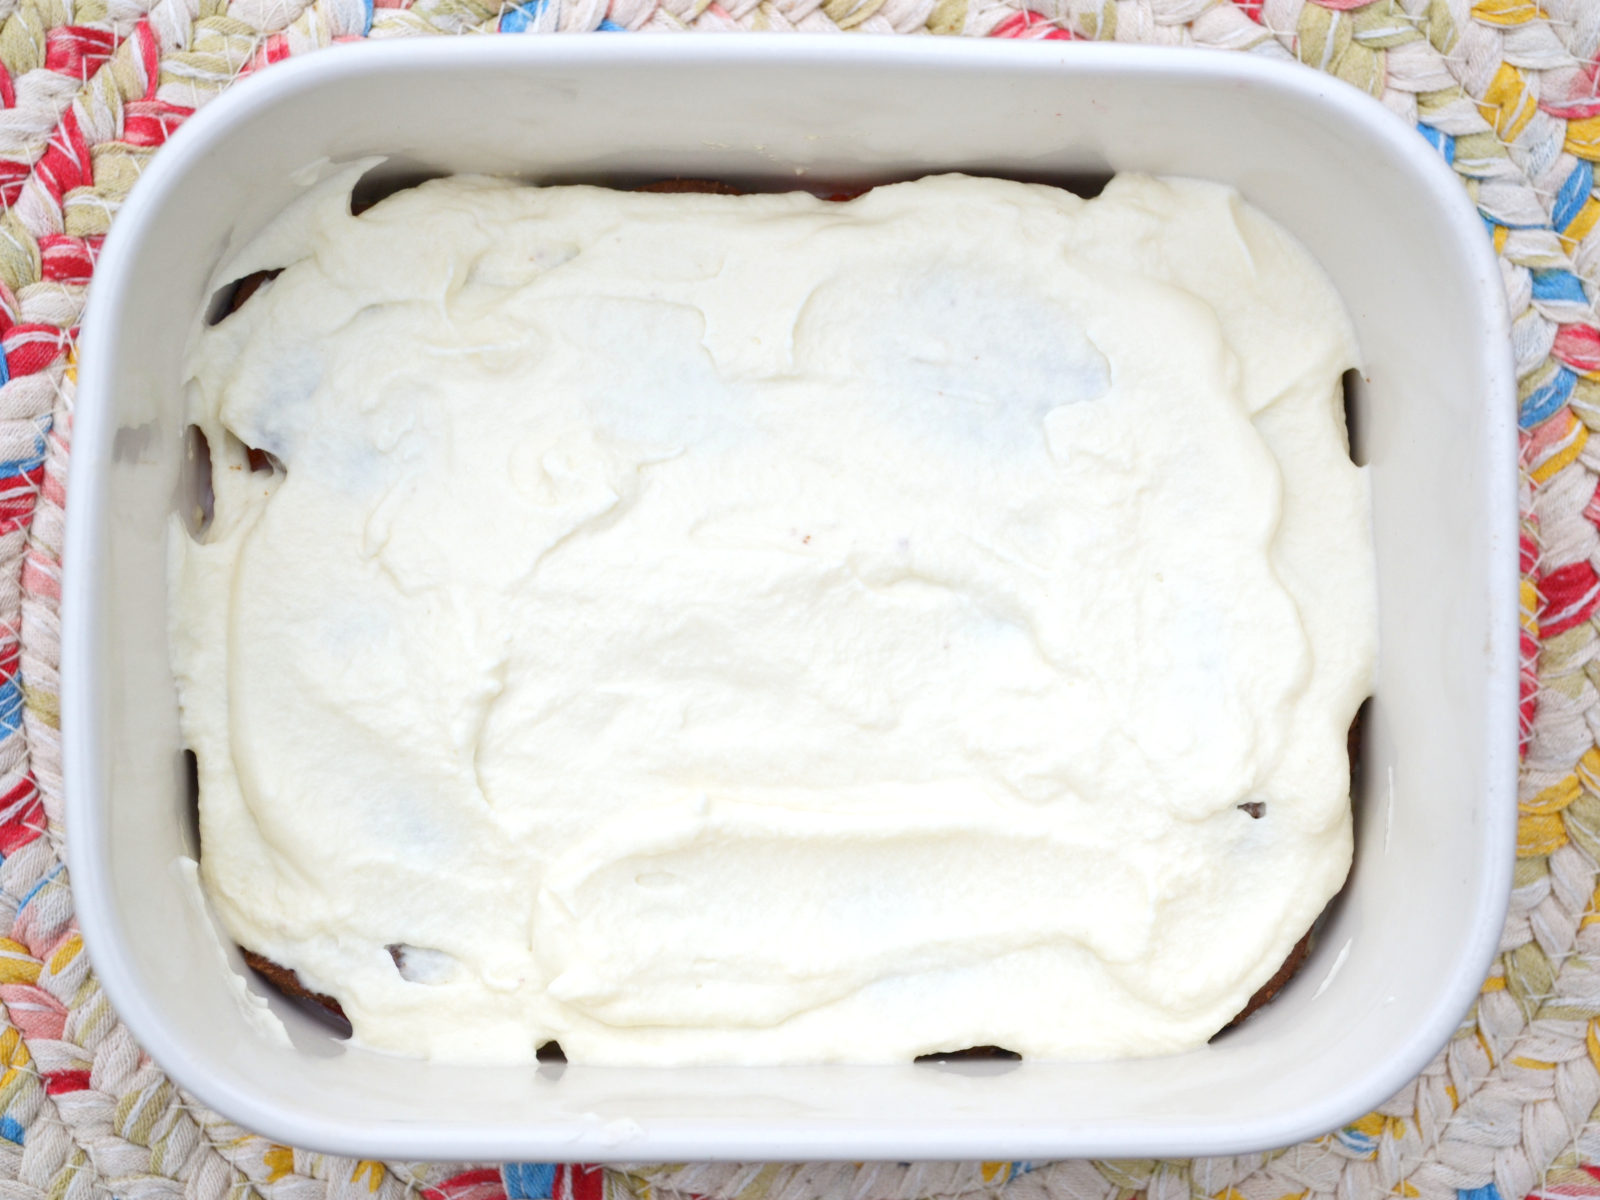
Next spread a layer of whipped cream on top of the cookies.
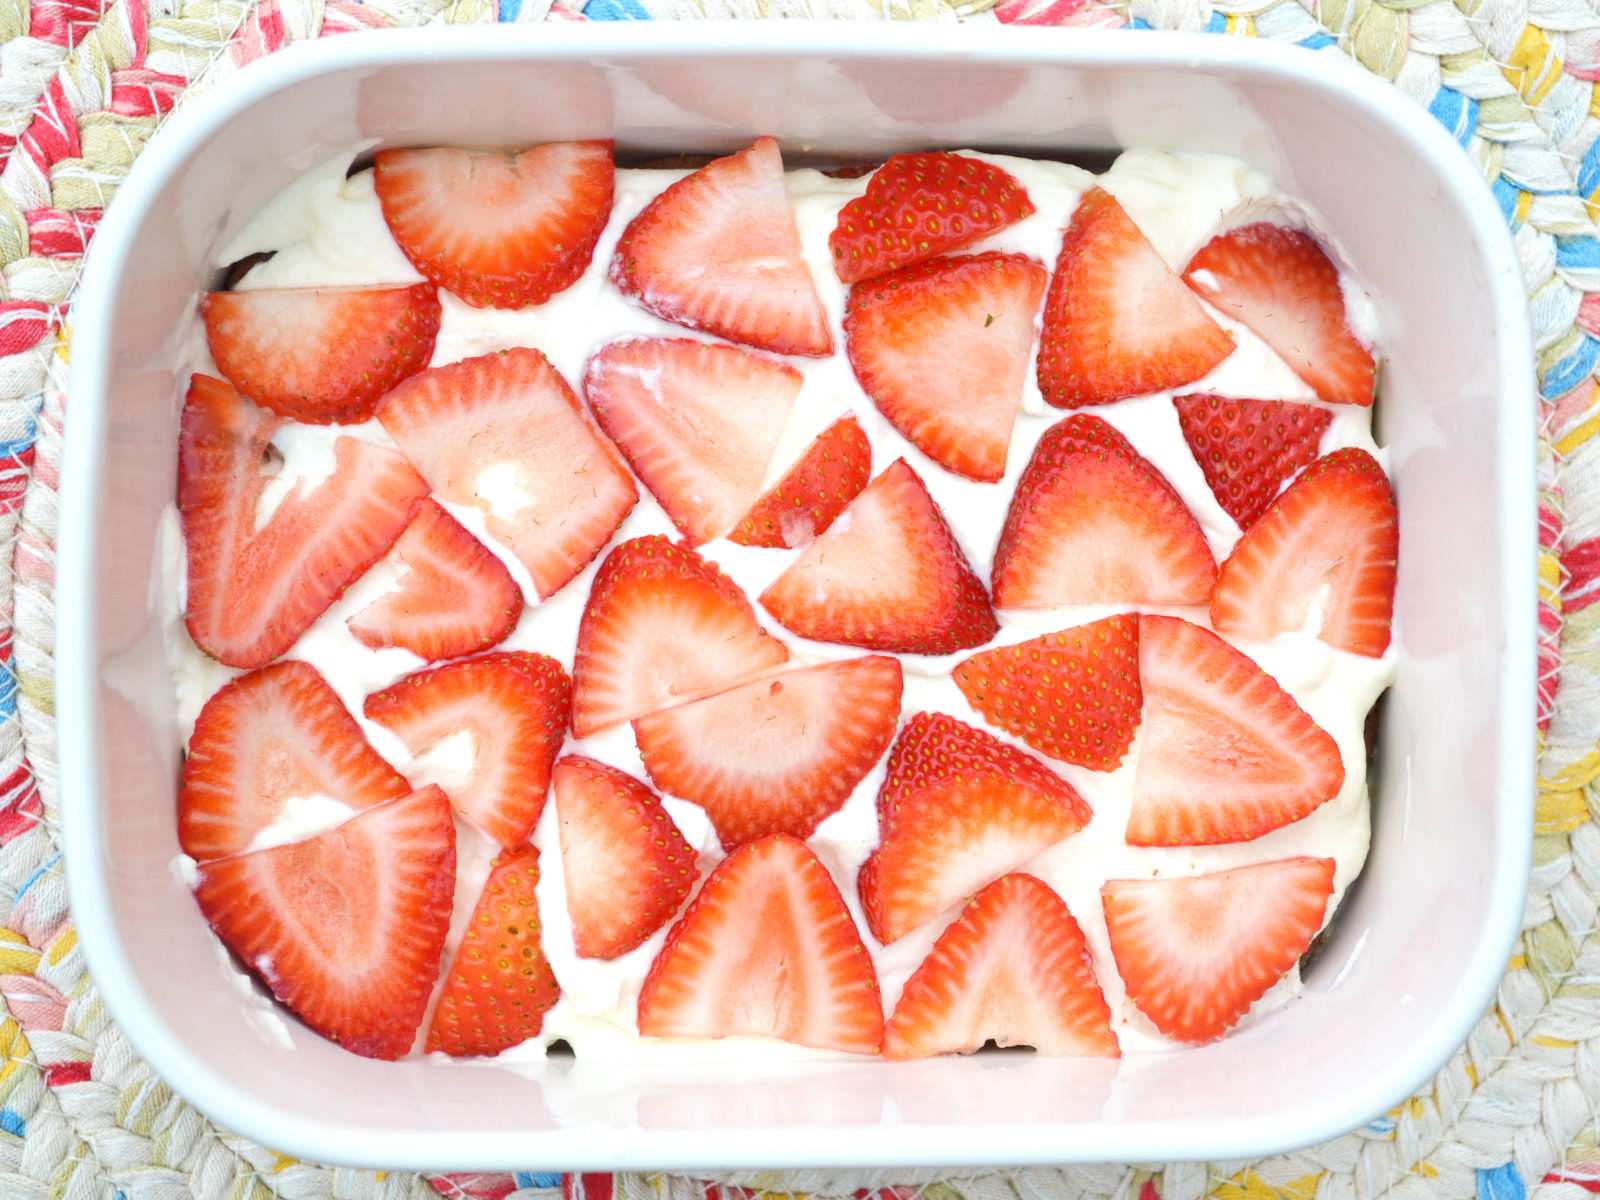
Place a layer of sliced strawberries on top of the whipped cream.
Then repeat the process. Place another layer of cookies, followed by whipped cream, followed by strawberries.
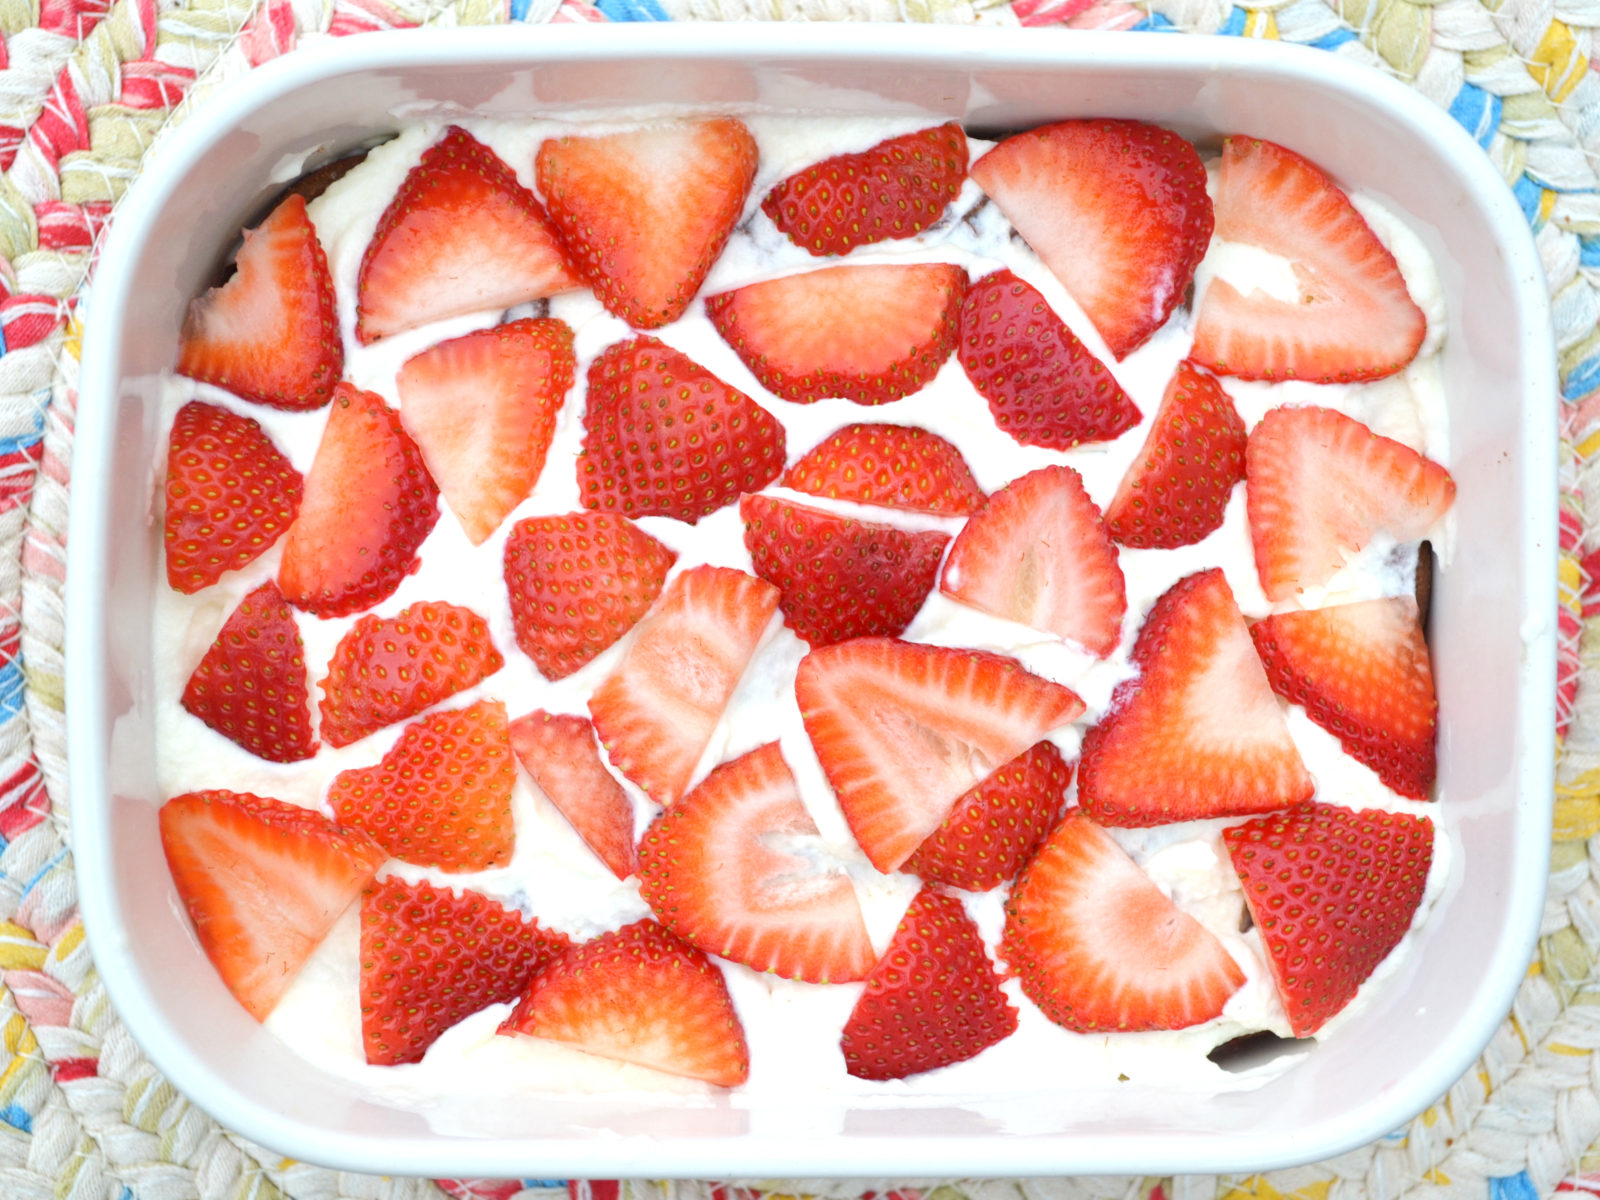
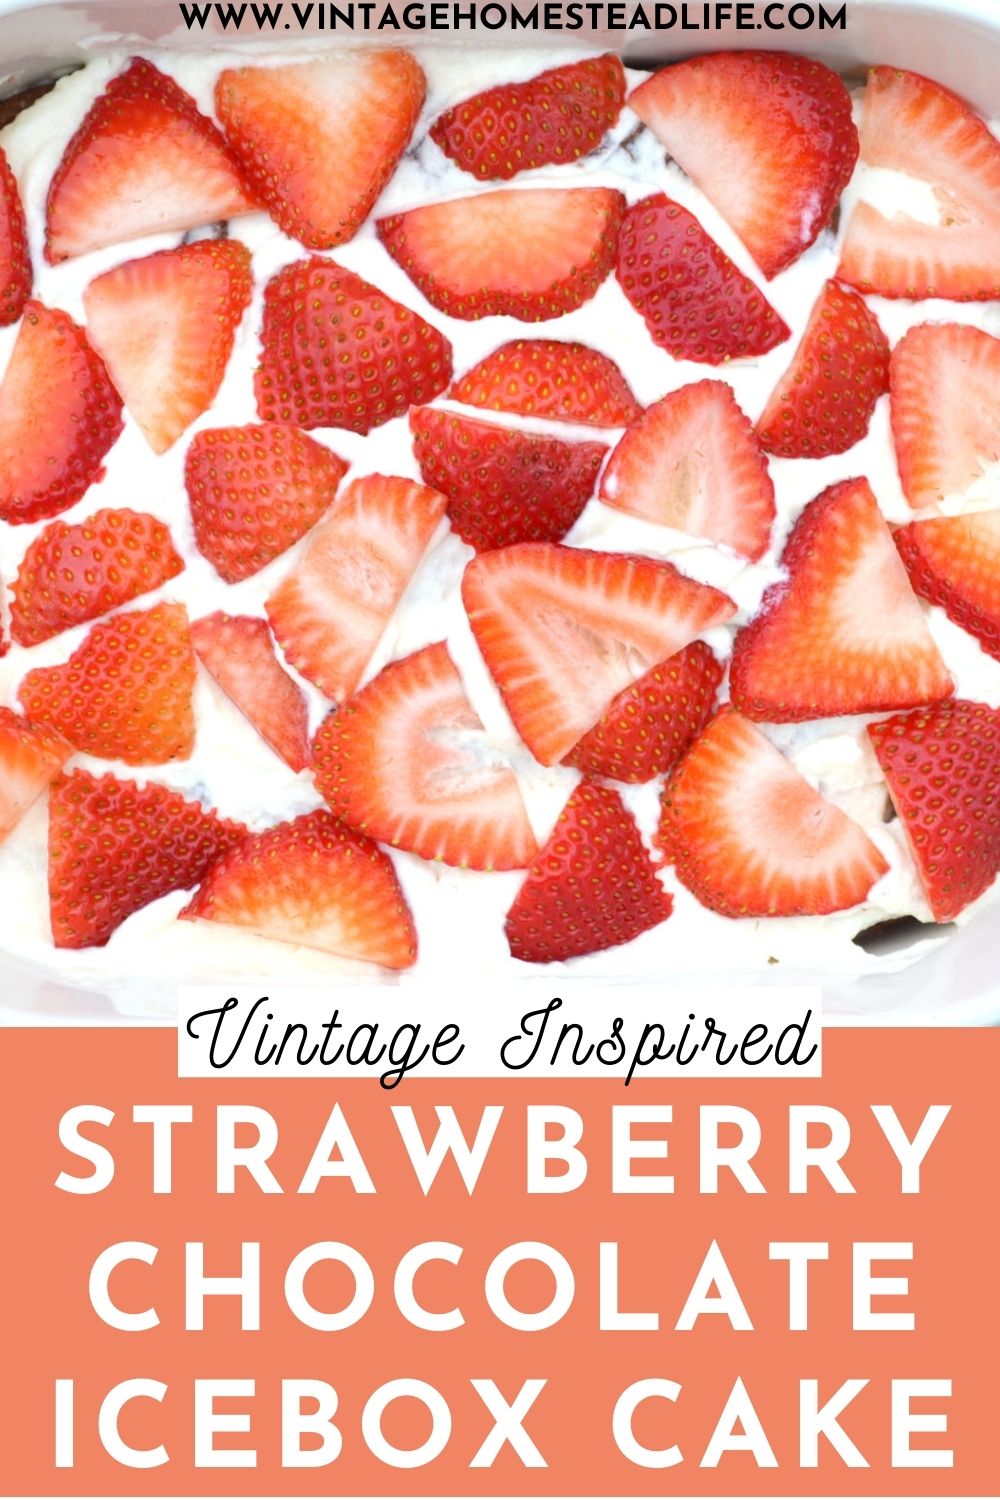
I did three full layers, then did an additional fourth layer of whipped cream and strawberries. I ended it with the strawberries on top.
You can repeat as many times as you would like, or go until you run out of ingredients.
When you are done layering everything, cover the cake and place in the the icebox, err, I mean refrigerator.
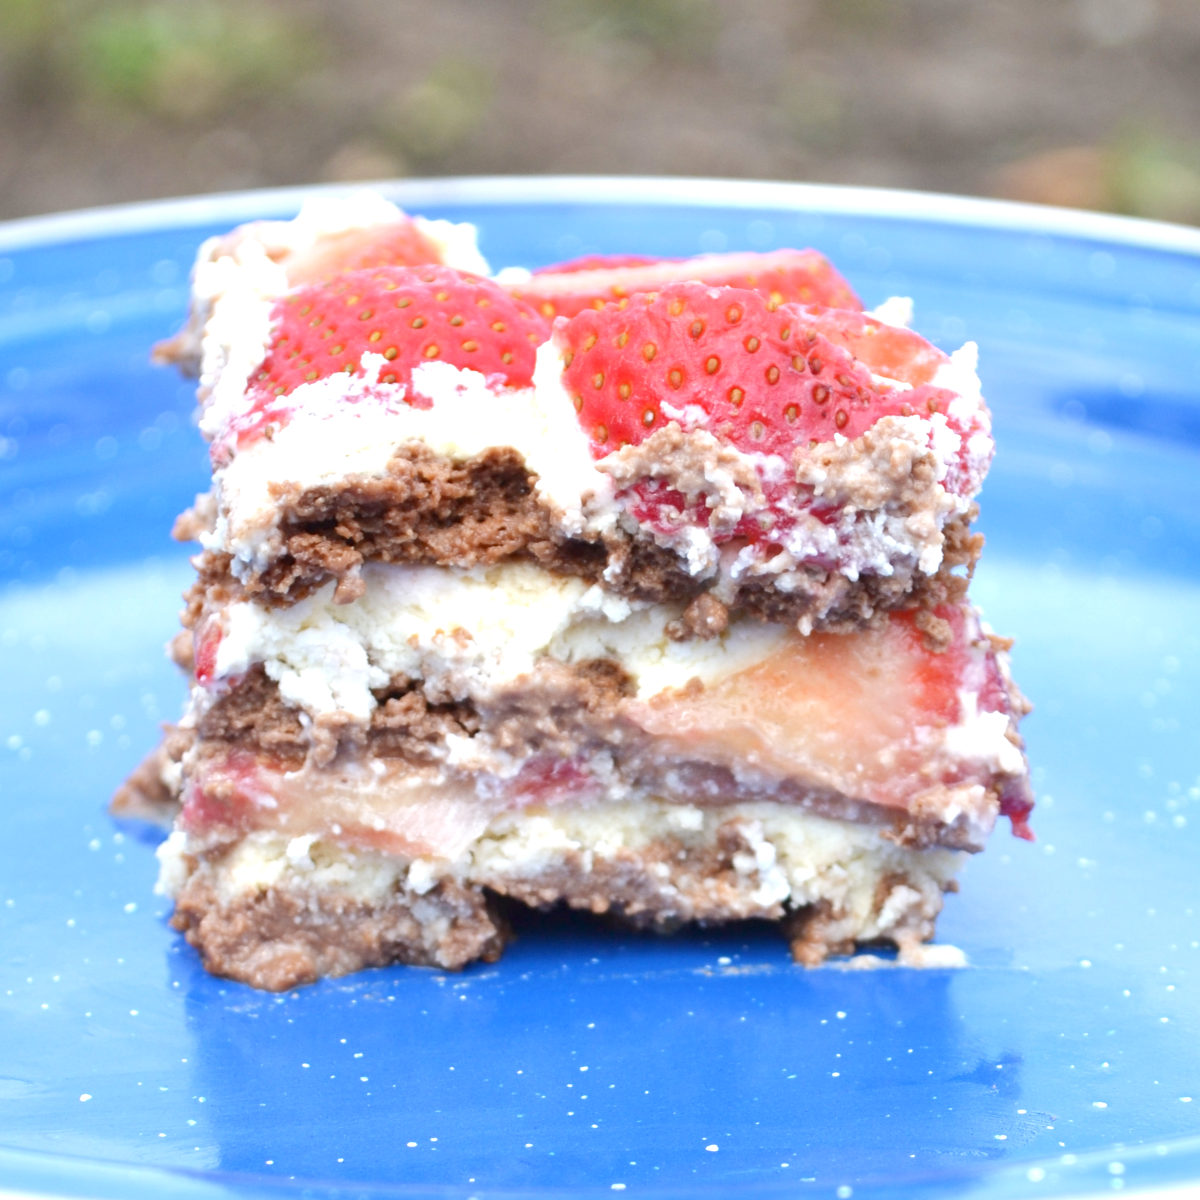
Allow to sit in the refrigerator for at least 4 hours, but preferably overnight. As the cake sits in the refrigerator the cookies absorb moisture from the whipped cream. The cookies soften up and take on a cake-like texture.
Once you are ready to serve the cake, remove from the refrigerator, slice, and enjoy!
My whole family loves this cake. And it is a great recipe for kids to help with!
Strawberry Chocolate Icebox Cake
Ingredients
- 2 cups heavy cream
- 2 tbsp maple syrup
- 2 tsp vanilla
- 3 cups strawberries sliced
- 2 packages chocolate wafer cookies or chocolate graham crackers
Instructions
- Combine heavy cream, maple syrup, and vanilla in mixing bowl.
- Using an electric mixer, beat the mixture on high until mixture forms soft peaks and the heavy cream turns into whipped cream. About 3-5 minutes. Set aside
- Place layer of cookies in bottom of 9x9 baking dish.
- Spread layer of whipped cream on top of cookies.
- Place layer of sliced strawberries on top of whipped cream.
- Repeat layering process until ingredients are gone or dish is filled. End with layer of strawberries on top.
- Cover dish and place in refregerator. Allow to chill for a minimum of 4 hours, preferably overnight.
Notes



Great Recipe !!!Whipped cream with jar & marbles !!!
~~~ Love This. Eliza 💪
I’m so glad you enjoyed it!