Have you ever wondered what is involved with building your very own home (also called owner builder) from the ground up? Join along as we share our story of building our “new old house” ourselves!
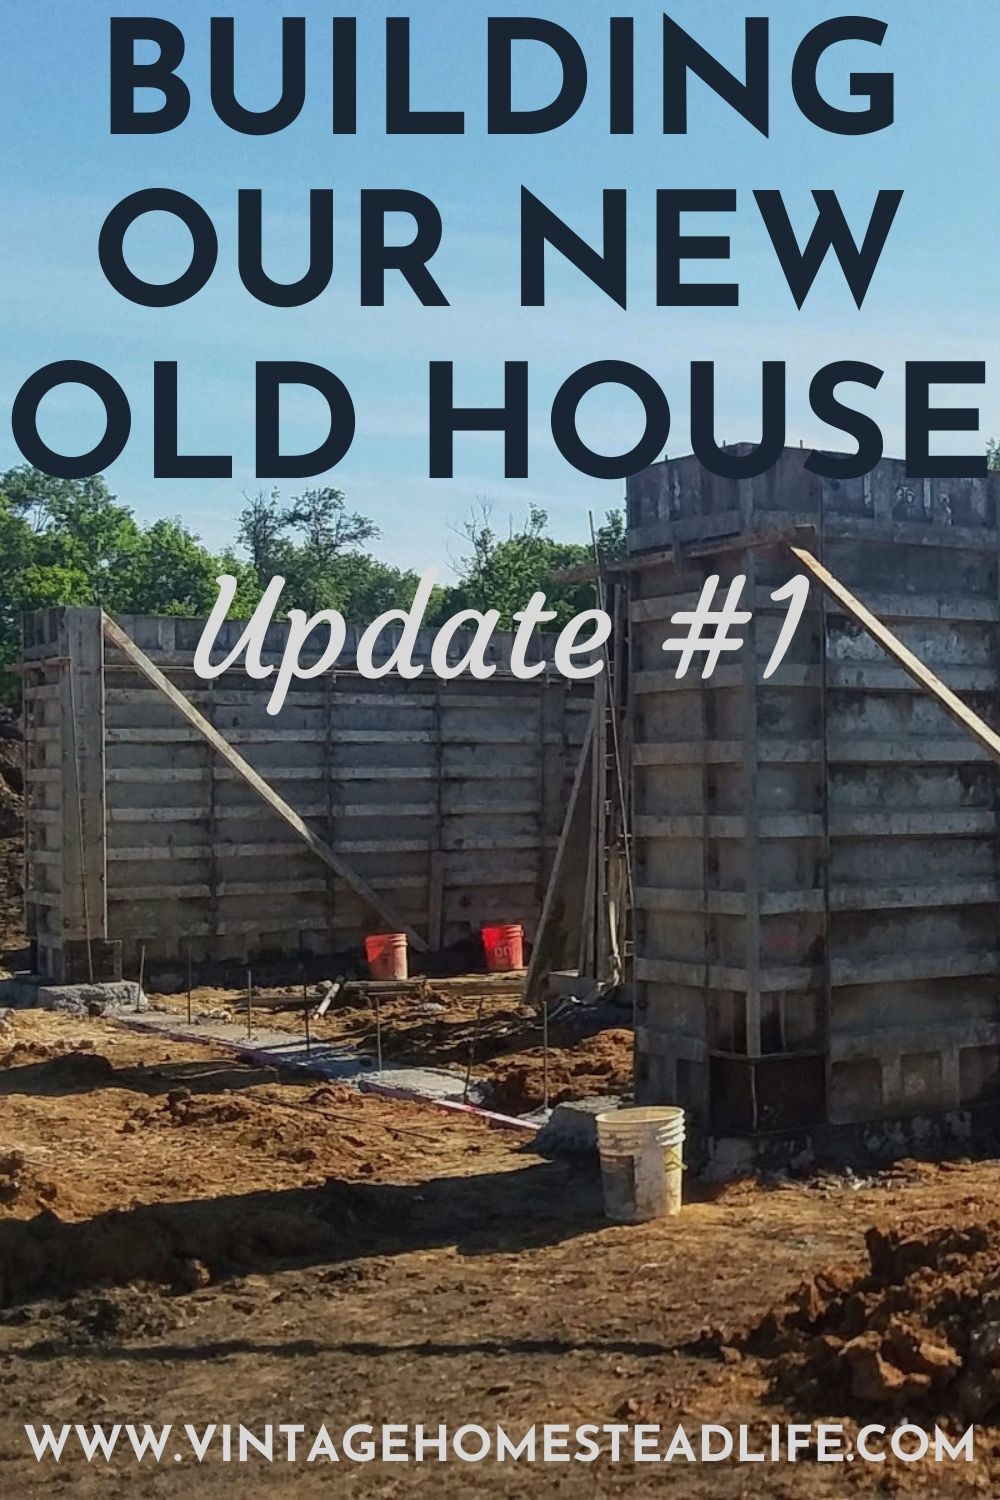
“New Old House” Owner Builder
Before we jump into this post, I wanted to quickly mention that I wrote another post detailing the backstory of our house build. It shares all about how two suburban kids with zero construction experience ended up on a homestead as owner builders. If you are curious to learn more, you can read the story here:
Building Our New Old House: The Backstory
Also, if you are unfamiliar with what a “new old house” is, it is a new construction home that seeks to emulate the character and charm of an old home. While it is impossible to perfectly capture the heart and soul of a well loved old home, we are doing our best to create an authentic, old fashioned farmhouse.
If you are interested in learning more about how we are making that happen, you can read these posts:
How to Design a New House that Looks Old
Sourcing Vintage Items for Your Home: 10 Places to Look for Them
Owner Builder First Steps
When building a home, there generally are a lot of small things going on simultaneously that keep things moving along at a steady pace. I will do my best to convey things in chronological order, but please know that several of the things I describe in this post were happening at the same time.
One of the first things that we did to initiate our build was call our county planning and zoning department. We wanted to touch base with them and let them know of our intent to build and find out some basic information about building in the county and how the process works.
That initial conversation was important because we were able to find out how our county planning and zoning works and make sure we were in line with how they operate, especially since we were working as owner builders.
After that conversation, we set to work on planning our house. While we had already been hard at work sketching out our ideas on graph paper (Expert note: buy a notebook of graph paper so you can sketch away!), we waited to have our plans formally drawn up until after we had that first conversation with the county. We did not want to pay somebody to draw up plans for us, and then risk being on the wrong side of the county code.
Making House Plans
There are a lot of ways that you can make your house plans. Some people choose to buy a premade plan and use it as is. Others use a premade plan as a basis for their plans, but then make changes to customize it exactly the way they want it.
Some will decide to hire a professional architect to make completely custom plans for them. And still others will choose to draw up their own plans from scratch and then hire a professional to draft them.
Regardless of which route you choose, it is best to have an architect or drafter involved with the process so you can be certain that your plan is appropriate for your build site.
We chose to draw up our plans ourselves from scratch, and then we hired a drafter to formally draw them up for us. We liked this route because it gave us the greatest opportunity to customize our house just the way we wanted it. This gave us the most control in making sure our new old house had the unique design elements that were important to our old house look.
Of note, typically a drafter costs significantly less to work with than an architect. That means we were able to harness the experience and expertise of a knowledgeable professional, without paying more than we needed.
*An important note though, this is a crucial question for your city or county right off the bat! Some cities and counties require that you submit sealed (basically certified) architectural drawings for your house plan. Our county does not require that, so we were able to use the services of a drafter.
Getting a Building Permit
While we were working on the house plans with our drafter, we also applied for our building permit. This was an easy and smooth process for us. Since we had already established a relationship with the county, all we had to do was fill out the application and submit it for review.
I cannot stress enough the importance of establishing a good relationship with your city or county from the very beginning. I promise you, it will save you from so many headaches as you move along in the process. We are fortunate to live in a county that is very easy to work with.
House Placement and Excavation
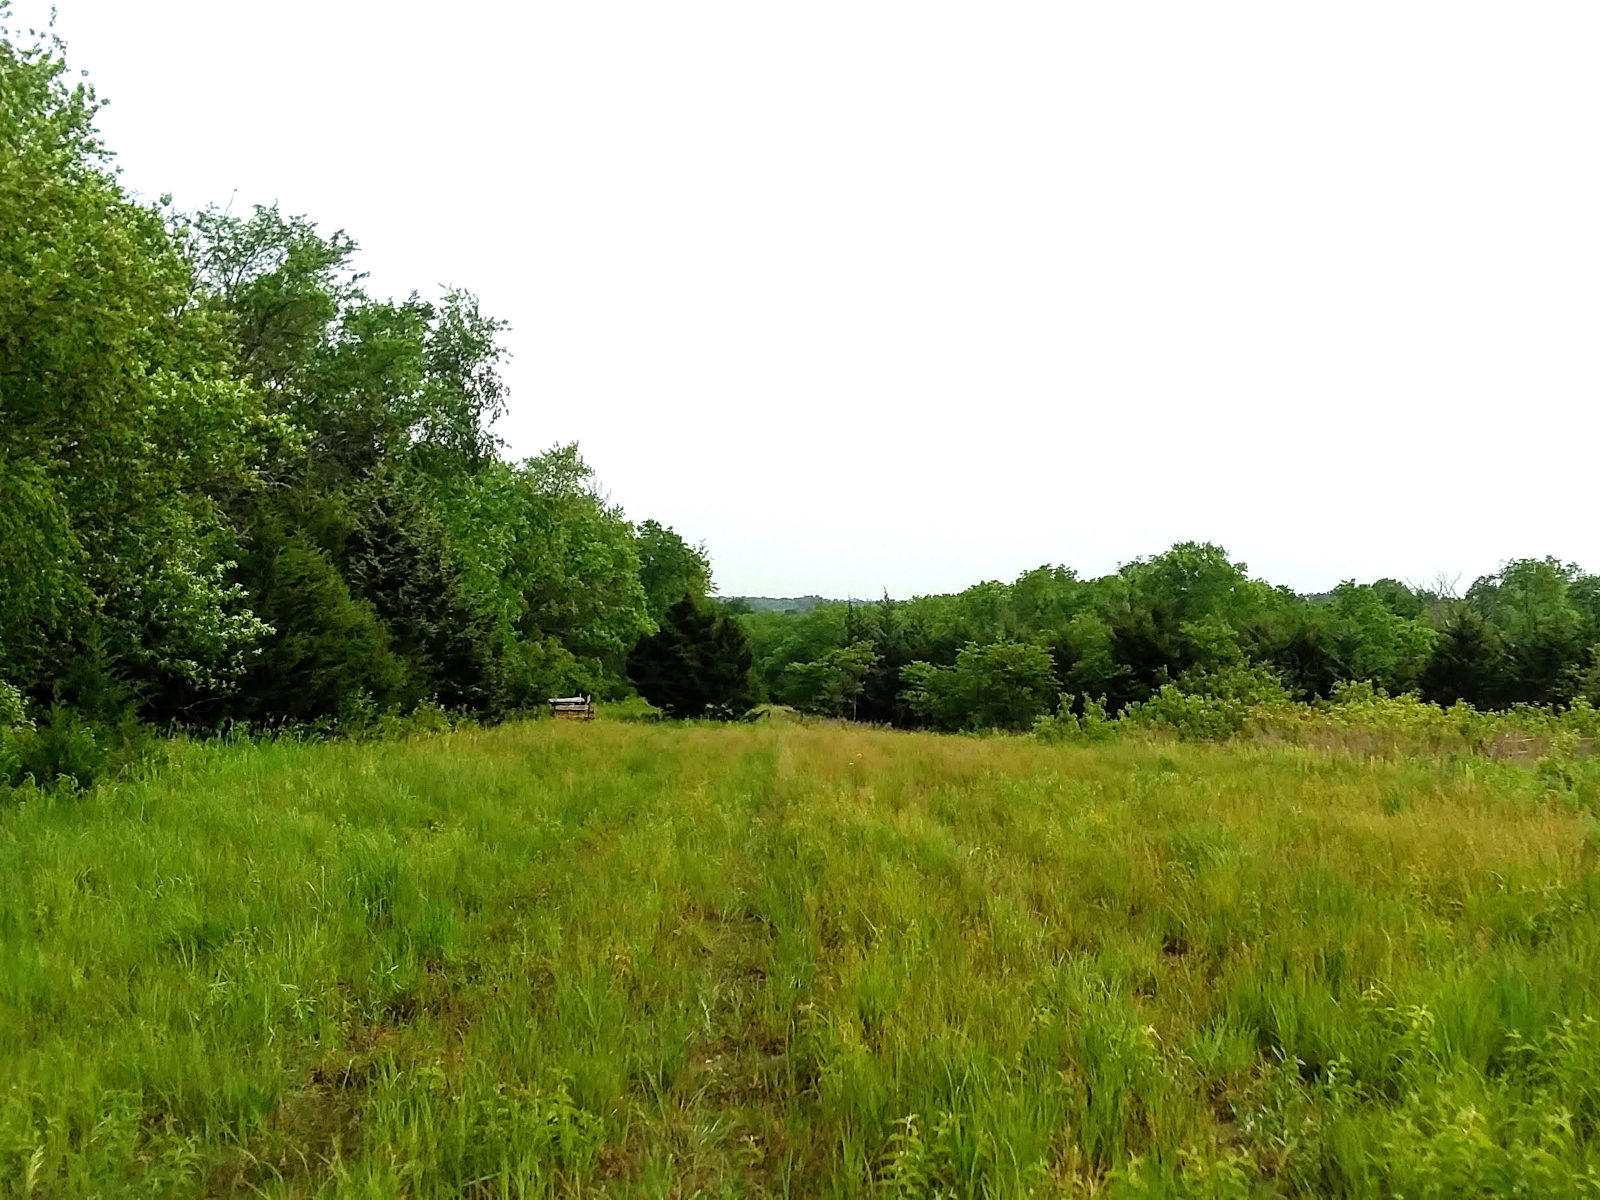
Now that we had the dimensions of our house figured out, it was time to figure out the exact location for it. The land that we moved to had been in conservation for several decades, so it was full of tall native grasses, as well as a good deal of brush.
We were having a hard time seeing through all the brush, and that made it difficult to decide exactly where we wanted to put the house.
We decided to do a controlled burn so that we could clear away the tall grass and get a better feel for where we wanted to place the house. Once the field was burned, we used little flags to mark out where we wanted the house to be.
Around this time we hired an excavator to do quite a bit of work for us. When you are working as an owner builder, it is important to get multiple bids on any projects you are hiring out.
My husband met with a lot of excavators (a total of 5 or 6, I think). It was really interesting to see the estimates they gave us. They really were all over the place.
We considered the cost that each excavator gave us, and then also asked some locals for references on them, and finally settled on one that we thought was the best fit for us.
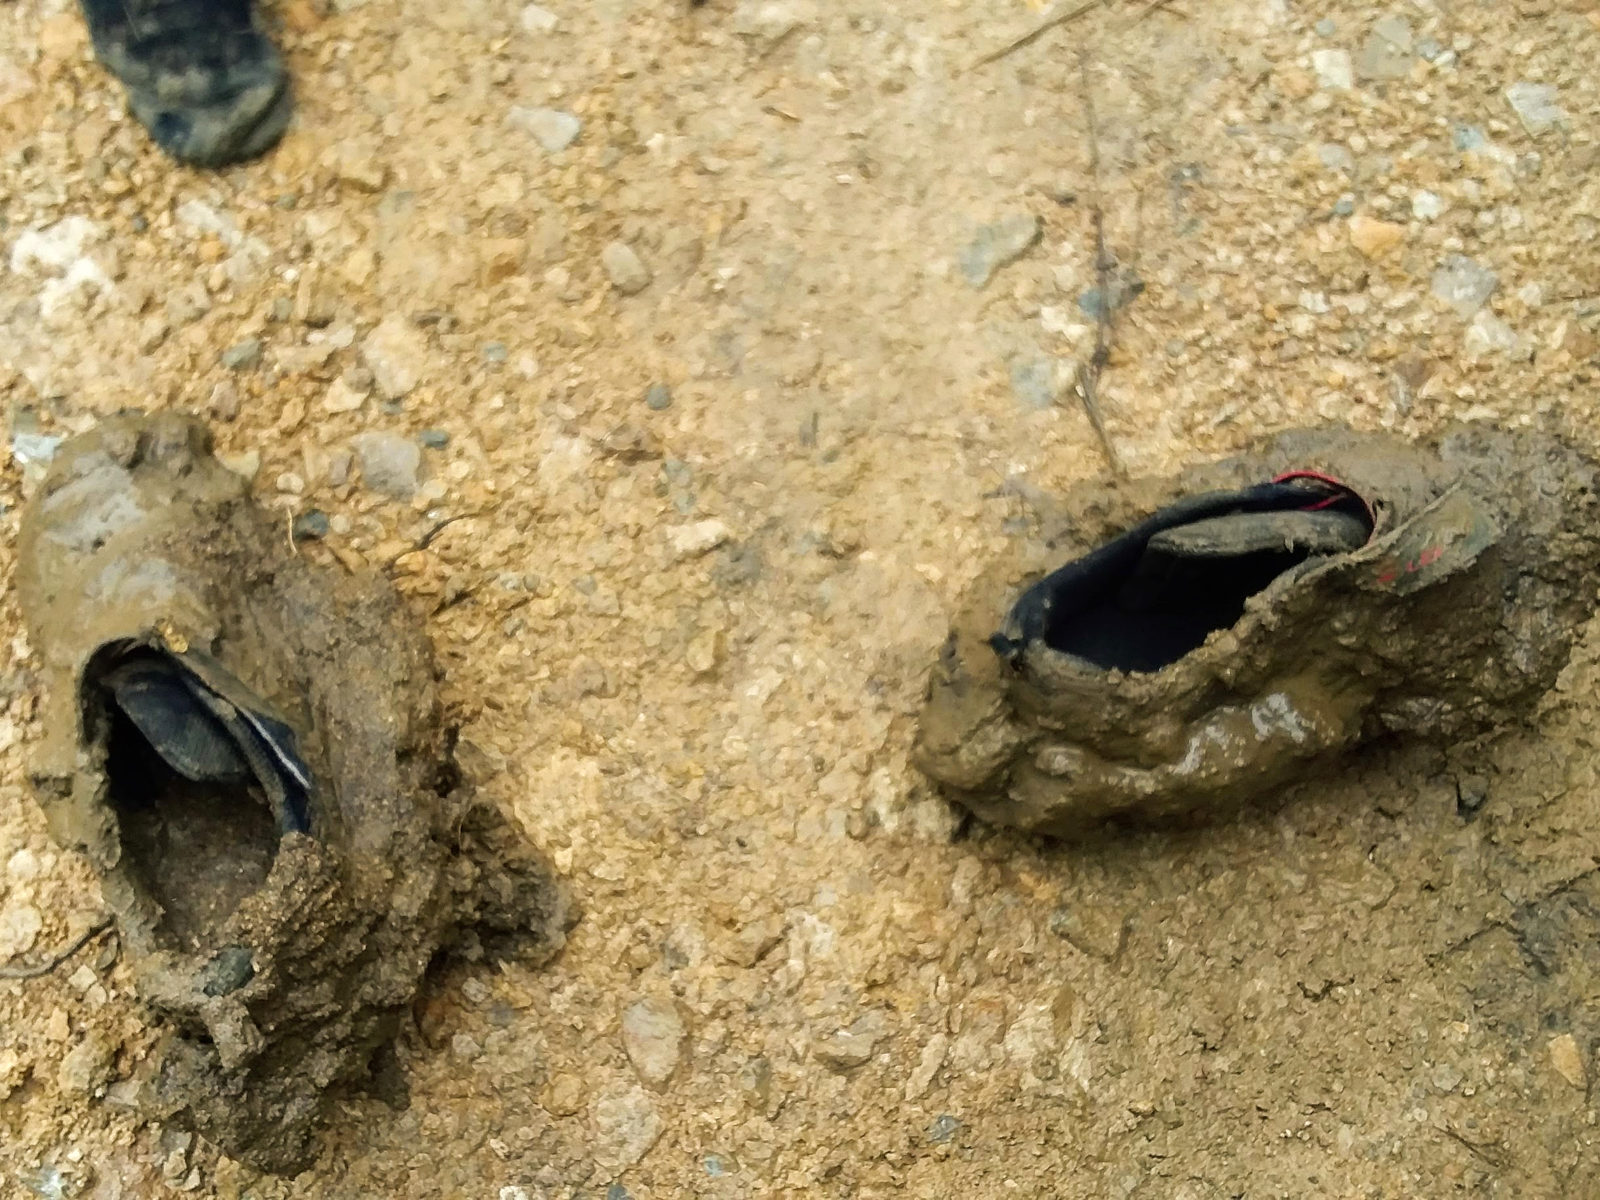
If you recall from the backstory, we moved to completely raw land, and it was also an exceptionally rainy year. It was so rainy, that we were not able to move out to the property in our camper because it was too muddy.
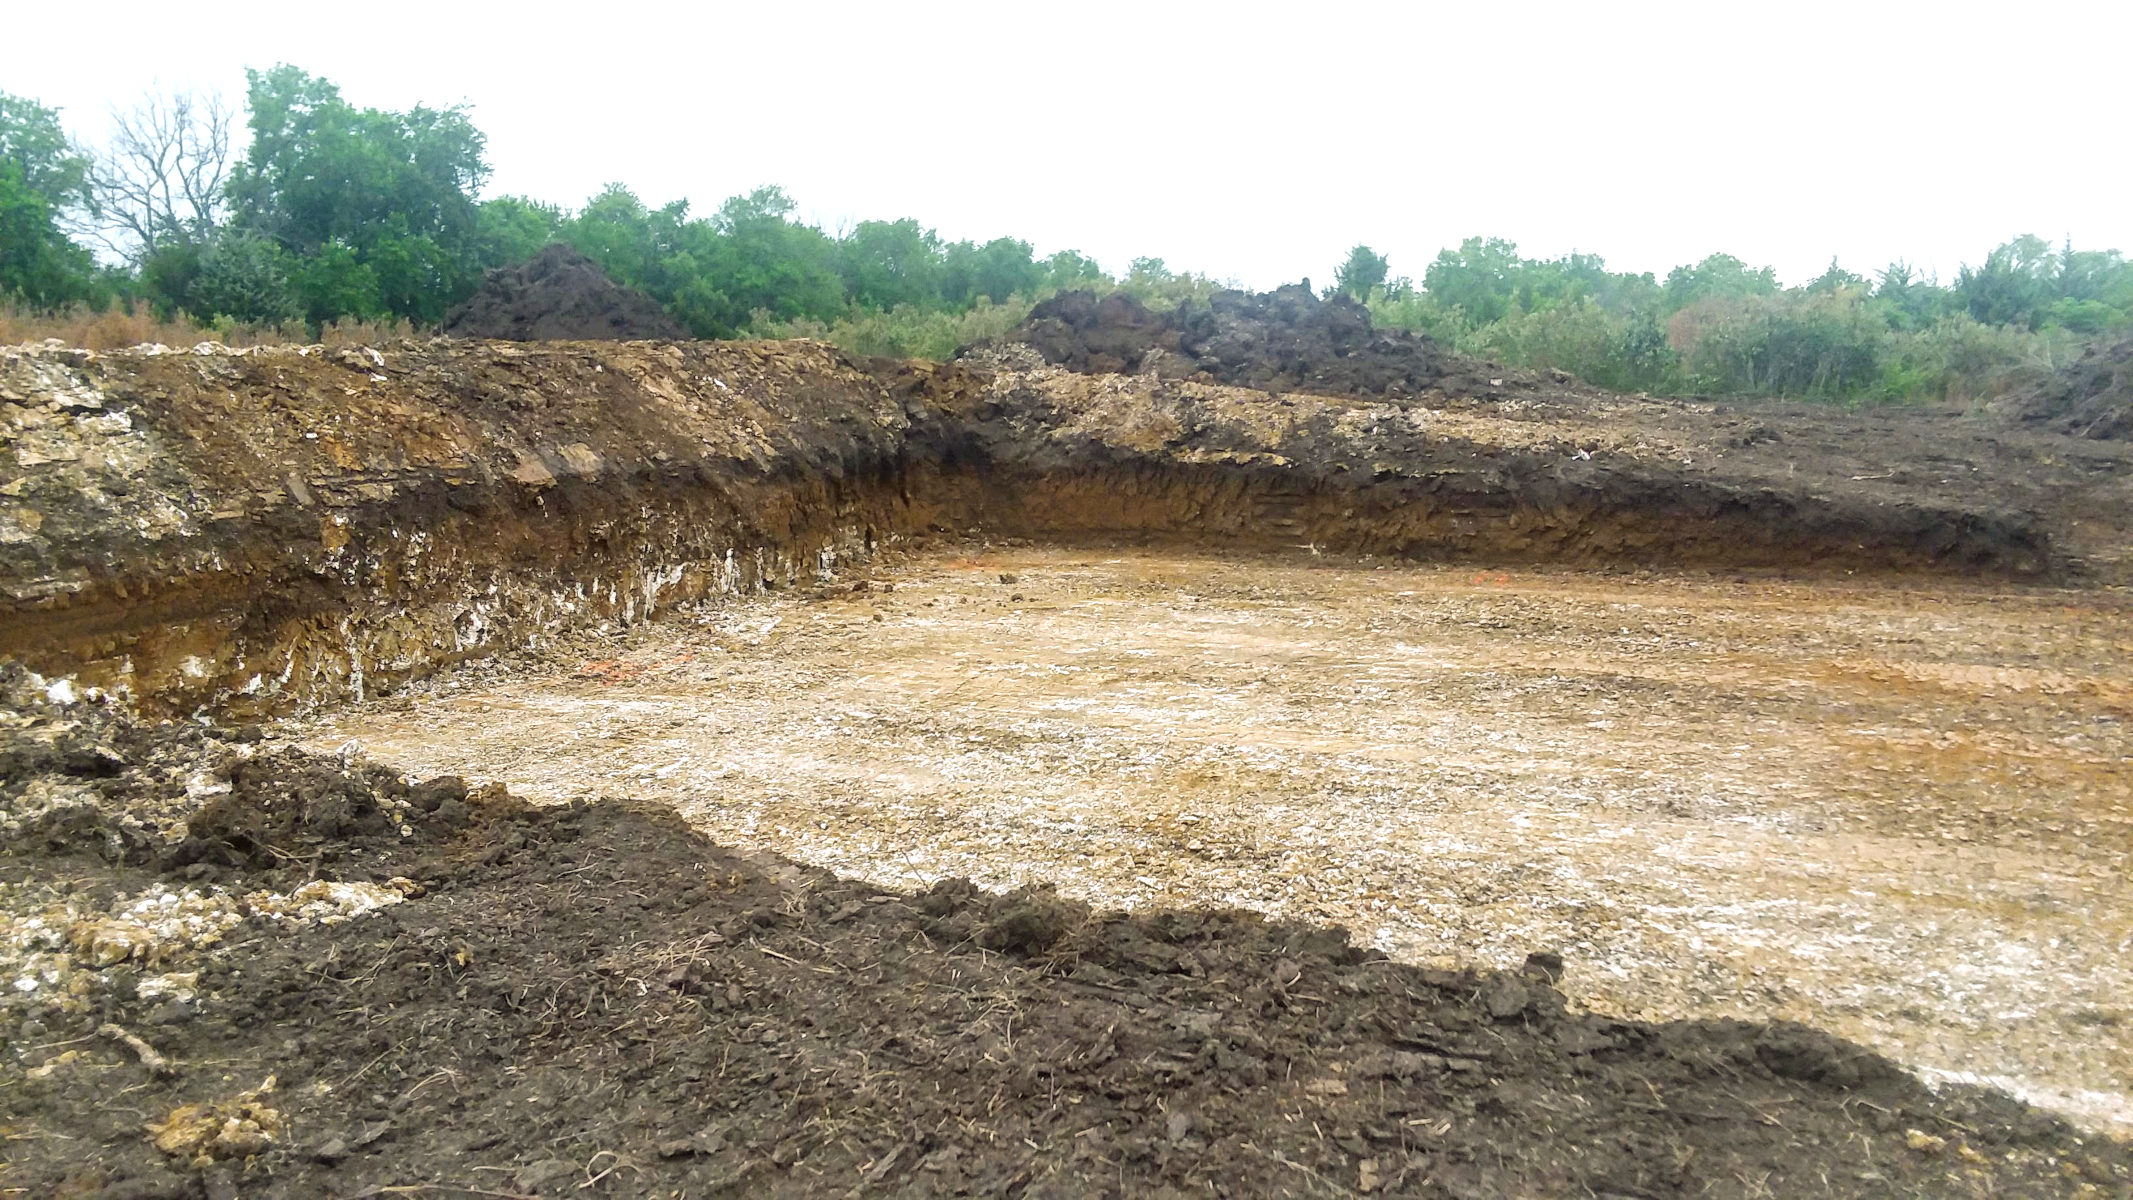
So the first task we put our newly hired excavator on was to create our driveway. Once he finished that task, he set to work on digging out the basement.
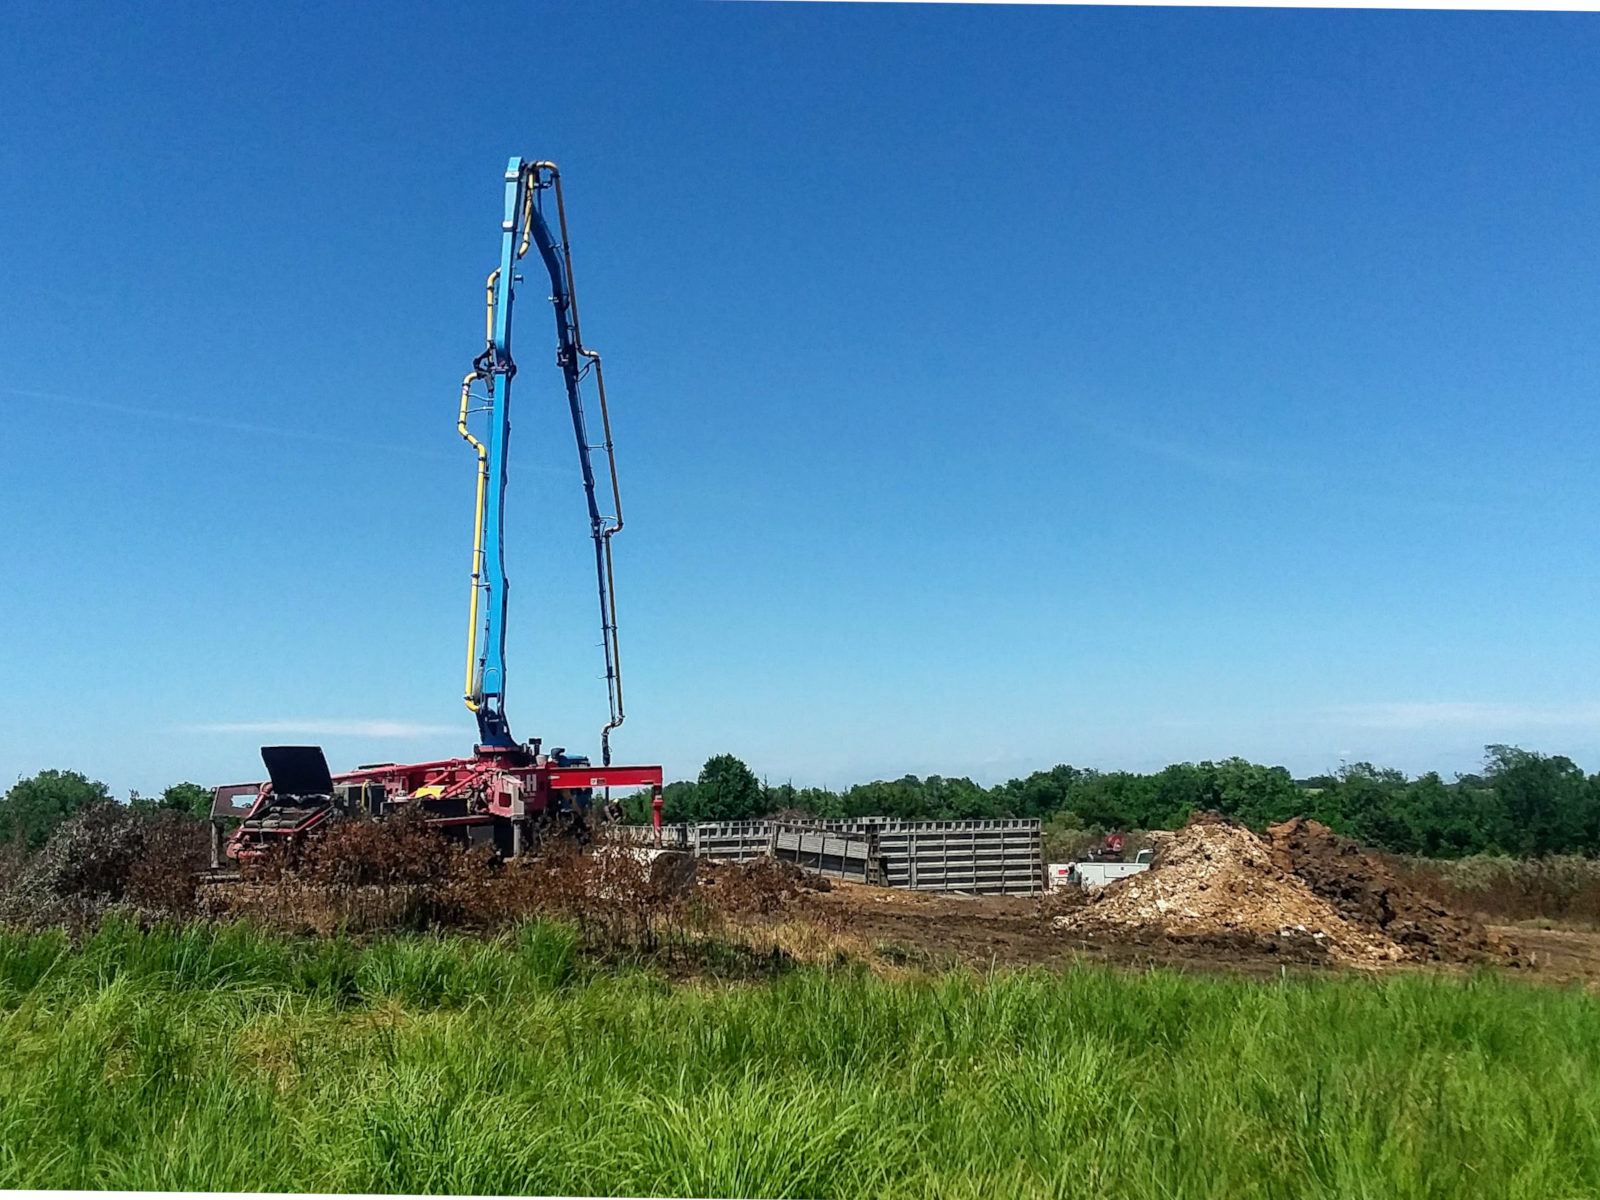
Pouring the Basement Walls
Once the basement was dug out, we hired out to a concrete company (again, getting multiple bids and references) to pour the basement walls.
Watching the basement walls get poured was a pretty interesting experience. They put up big forms on the three walls (it has a walkout basement), and then a long boon poured the concrete down into the forms.
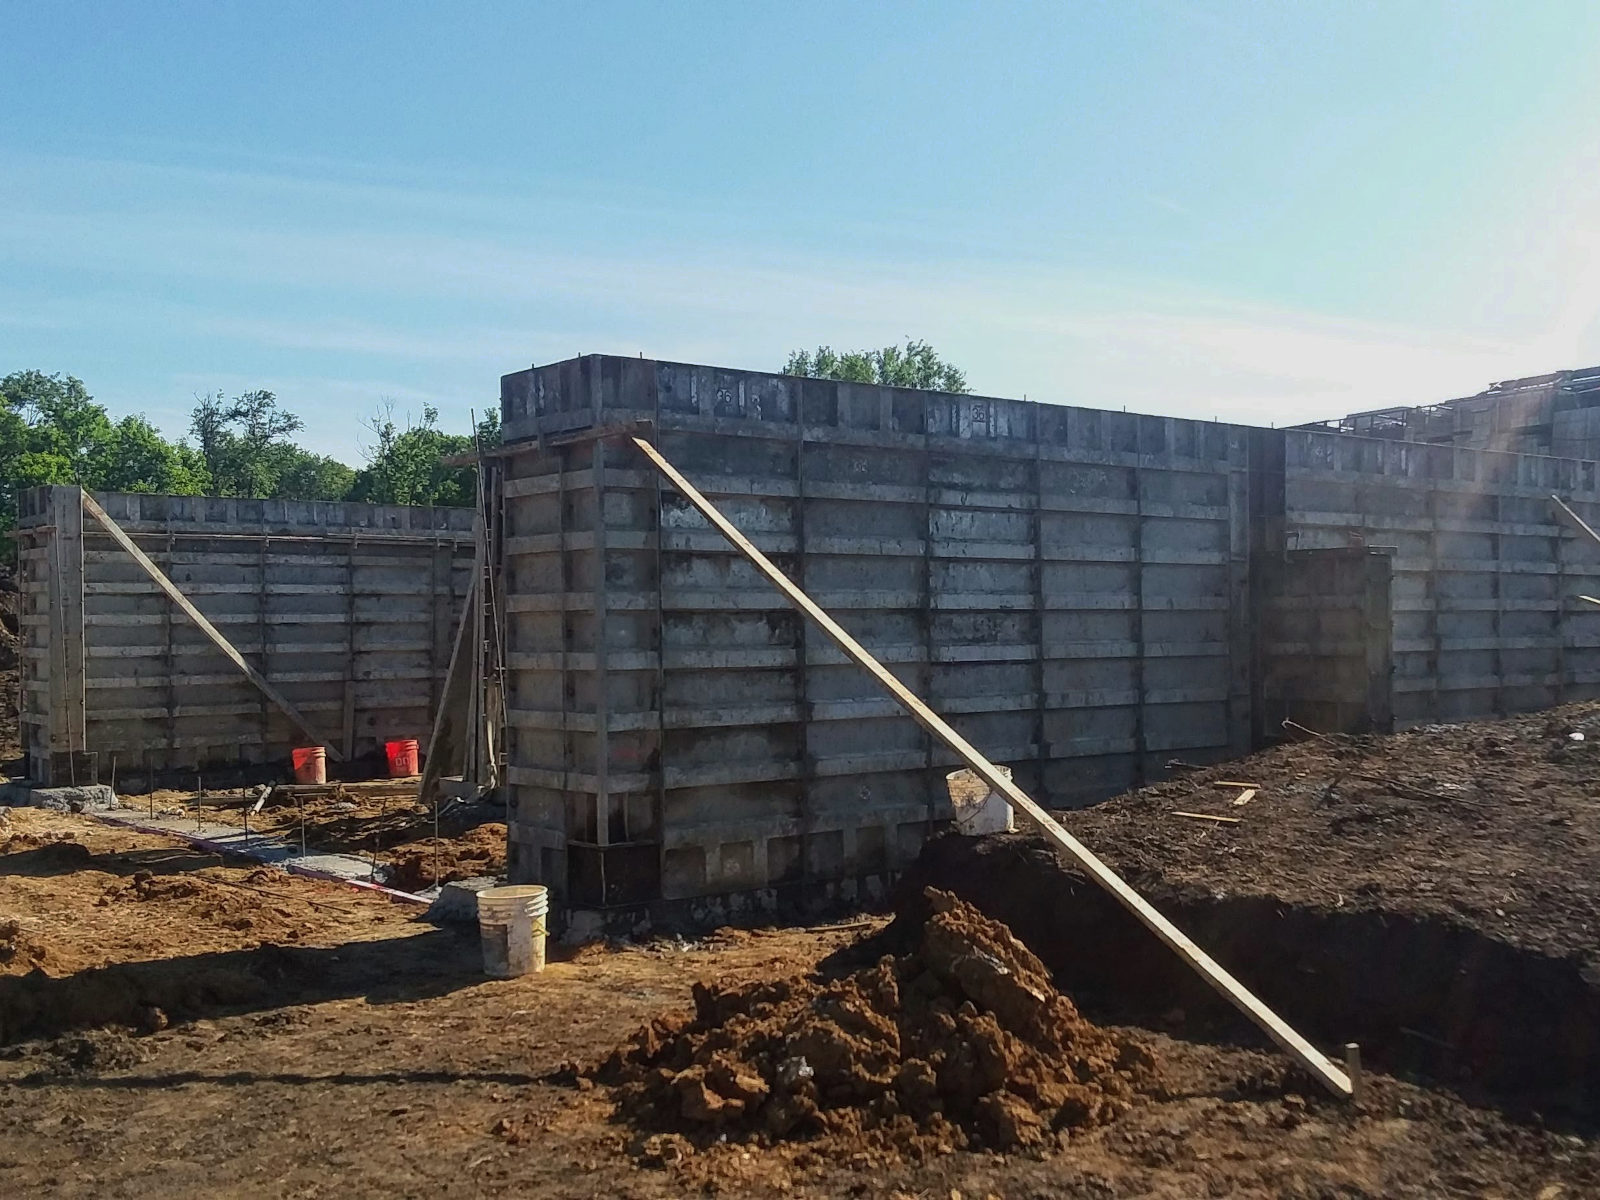
We watched truck after truck after truck go down the driveway and pour the concrete. We were thankful we prioritized the driveway excavation. It would have been impossible to pour the basement walls if we did not have our driveway in place. There is no way the concrete trucks would have been able to make it in the muddy conditions.
Four days after the walls were poured, the concrete company came back out and removed the forms. Once they removed the forms, we could see our walls!
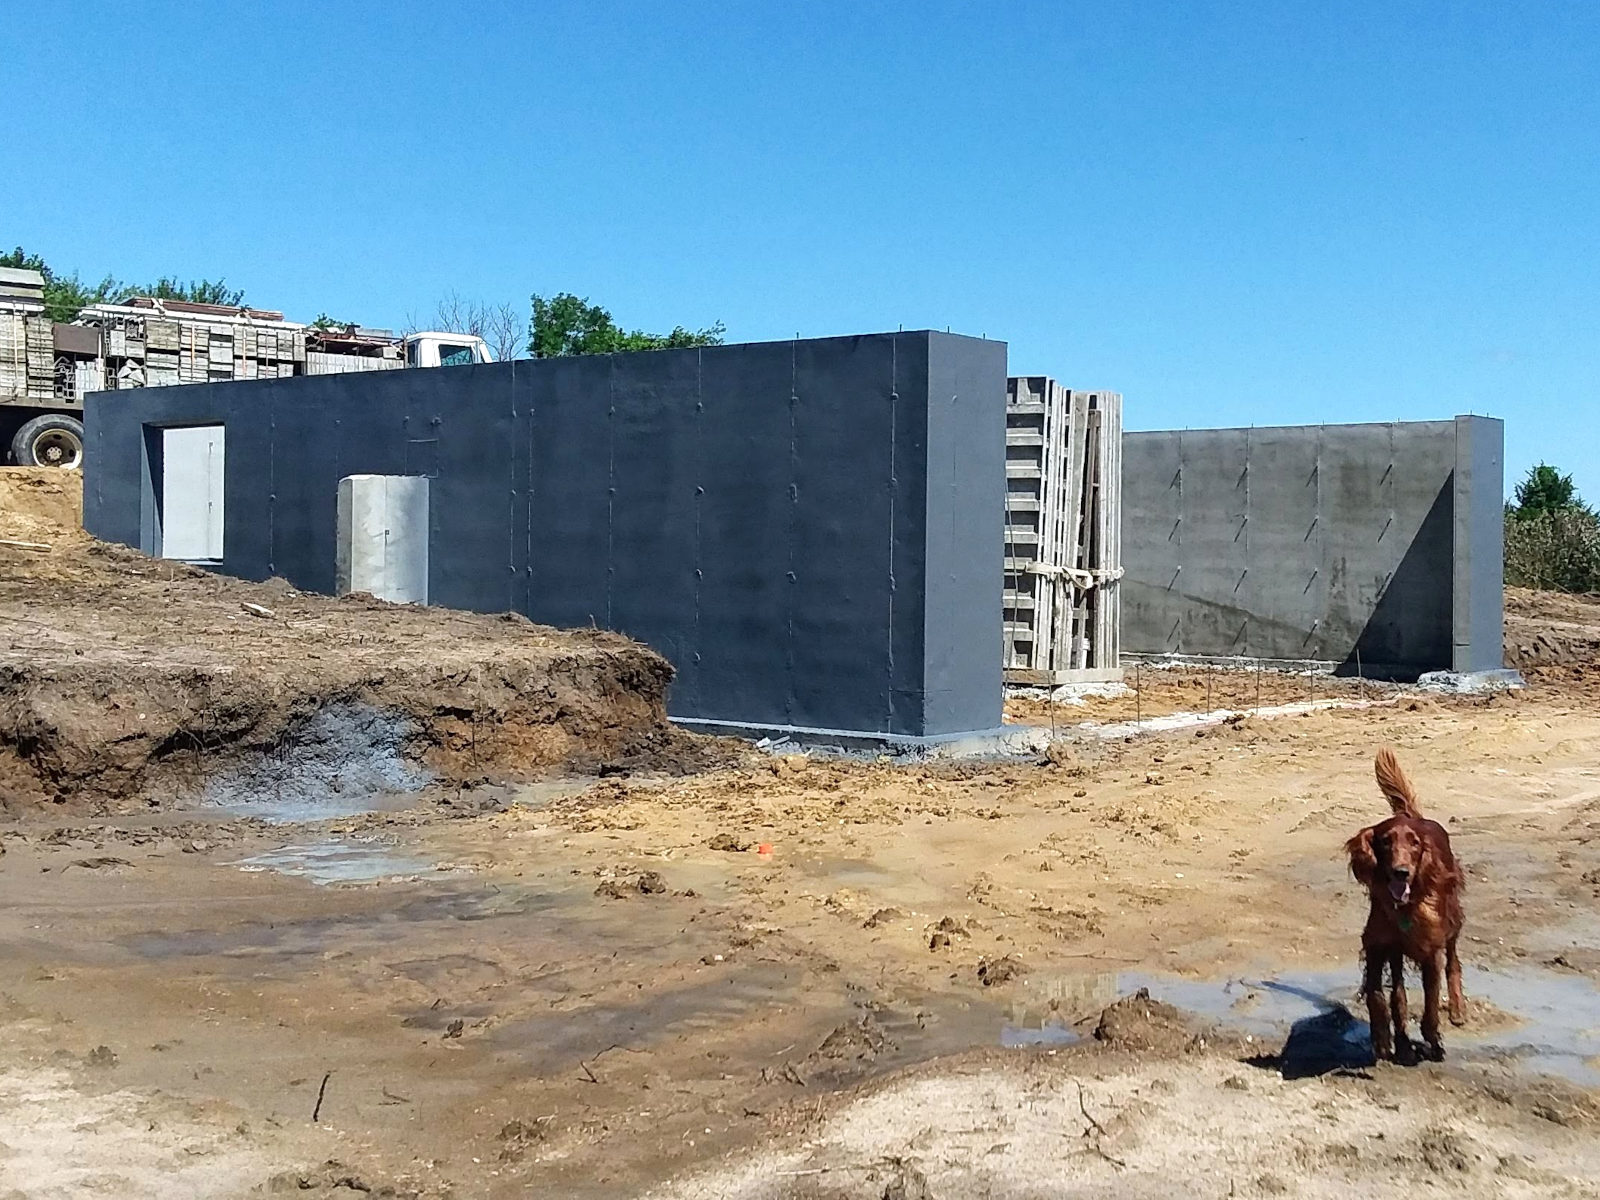
One thing of note when working with concrete is that it is beneficial to water the concrete for about a week after its been poured. This helps the concrete cure at a slower rate, which in turn strengthens the concrete and helps prevent cracking.
Finally, all that rain we were having was put to good use! I remember it rained a lot after the basement walls were put up, which helped us out with watering the concrete.
Conclusion
The first part of our build was an interesting time for us. Even though we were coming to the house build as owner builders, there was a good bit that we had to hire out in the beginning.
We simply did not have the expertise, nor the large machinery that was required for the big jobs that were necessary to get our house build started.
We were thankful to find a good drafter, excavator, and concrete company to work with. It pays to do your research and ask around for recommendations!
Stay tuned for more updates on how we are building our new old house!
Do you have any questions about being an owner builder or how we are building our house? Feel free to ask in the comments below, or send me a message!
I hope our story inspires others, and I am happy to share more of our experience with you.
Other Posts in the Series:
5 Practical Things to Think About When Designing and Building a House
How to Design a New House that Looks Old
Building Our New Old House: The Backstory

Leave a Reply